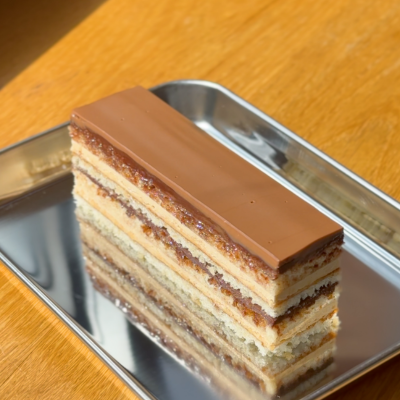
Opera Cake
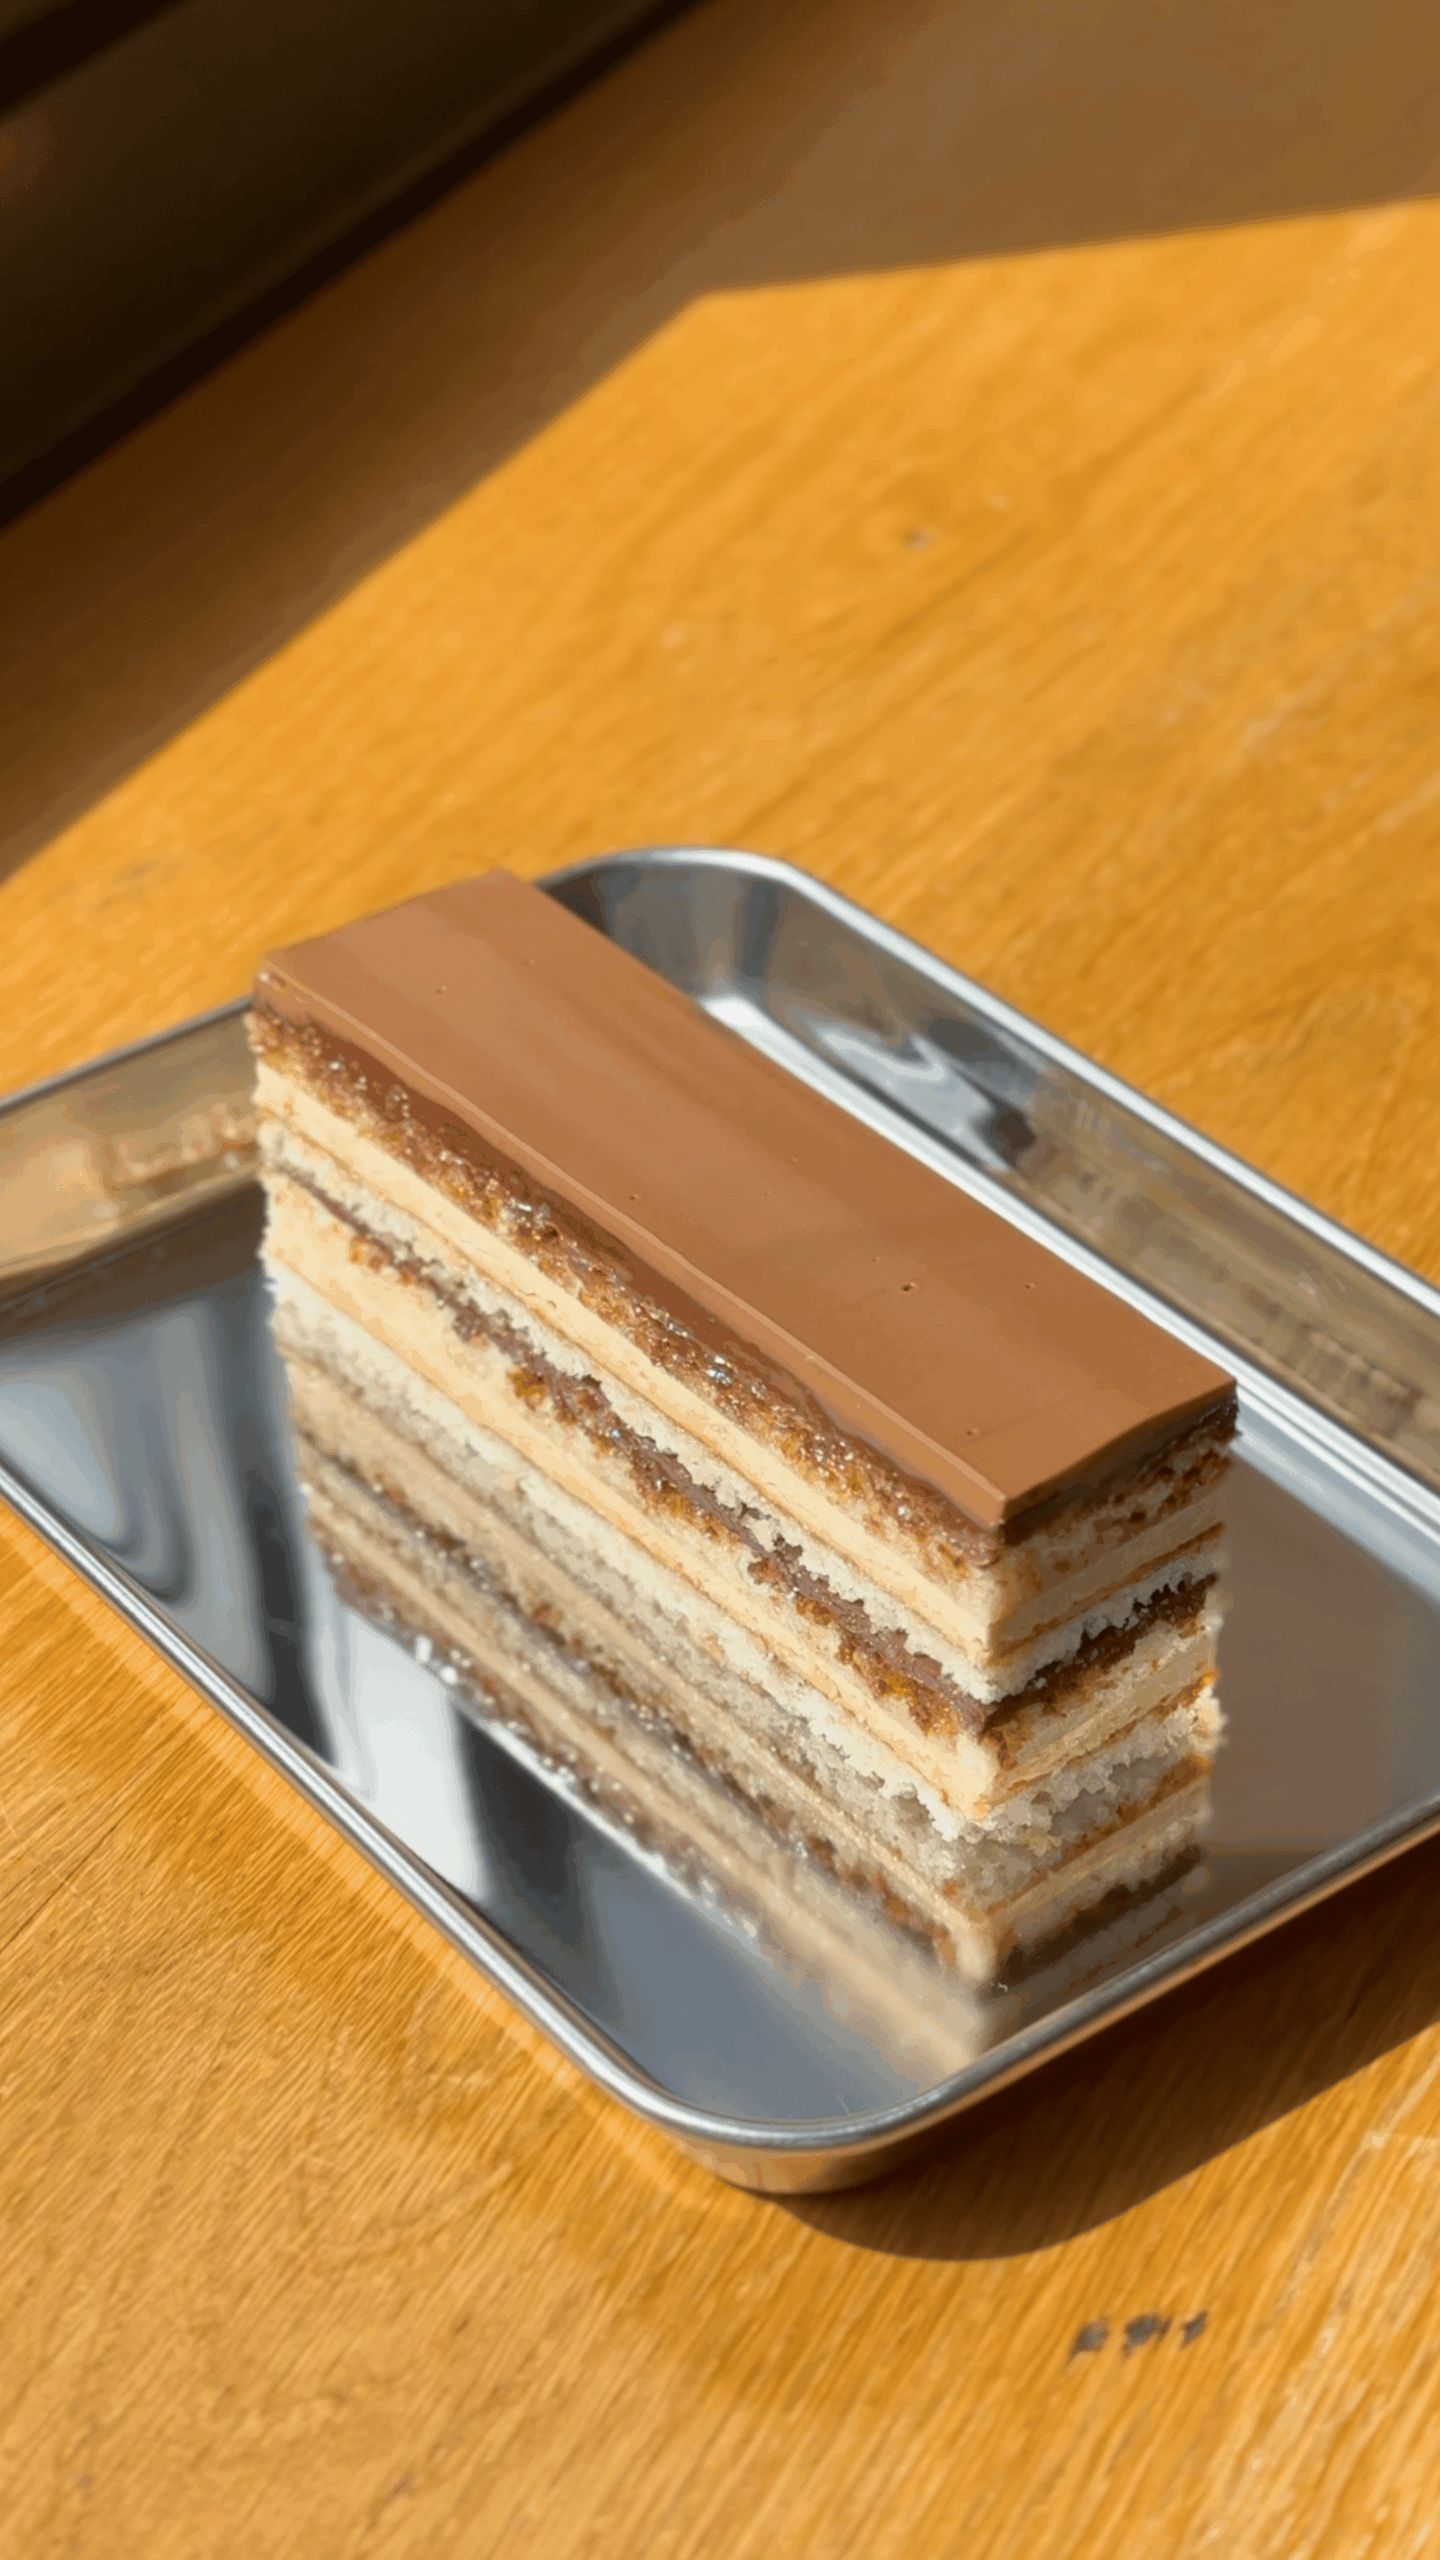
Opera Cake
Opera cake is a classic french pastry, with so many fundamental components that are used across so many recipes. It has a soft jaconde sponge soaked with fresh espresso then layers with coffee créme mousseline, chocolate ganache and finished with a chocolate glaze.
It takes some attention to detail to get nice neat layers but a silicon sponge roll mat for the jaconde sponge, and pastry rods, to level the fillings are a huge help. They are cheap pieces of kit that I use all the time, so worth investing in!
If you missed it, try all the recipes in the afternoon tea series!
Ingredients
Method
Note – you will need two sponges for this recipe, so you will need to make and bake the sponge recipe twice.
Pre-heat the oven to 205C/400F (non-fan assisted. 190C/375F fan assisted).
Into a medium bowl, whisk together the whole eggs, icing/powdered sugar and ground almonds. Set this to one side.
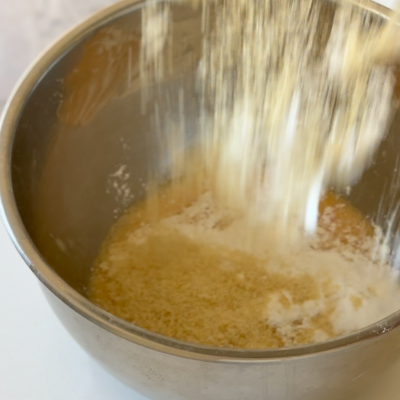
Add the egg whites into the bowl of a stand mixer (or a medium bowl if you're using an electric hand whisk). Whisk on a medium low speed until they become frothy.
Slowly add in the sugar, a teaspoon at at time, whisking on a medium speed.
The sugar ratio is quite low, so this won't become a nice thick glossy meringue, so once you have added all of the sugar, just whisk until it forms a medium peak. If you whisk it any further it will separate.
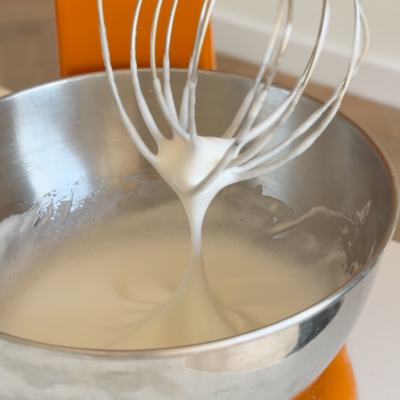
Fold the soft meringue into the egg yolk mixture in two parts.
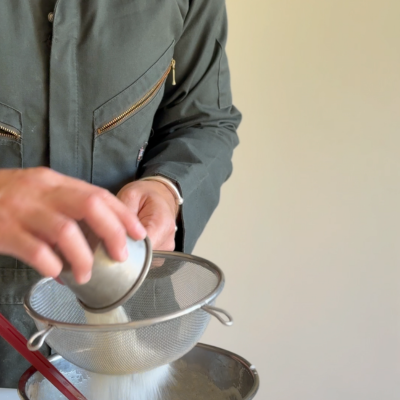
Finally, sift in the flour and fold again to form a smooth batter.
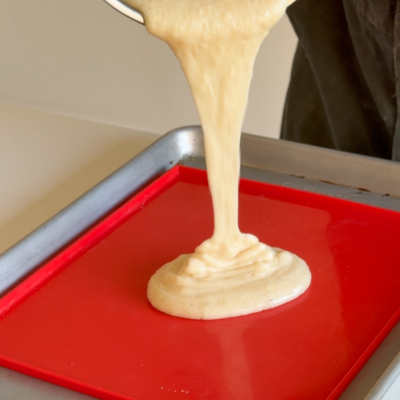
Pour the mixture into a silicon sponge roll mat. Spread it to the edges then gently shimmy the tray to level it. The silicon sponge roll mat is ideal because it allows you to get a really even thickness (which is important when it comes to getting nice layers), but otherwise the batter can be poured into a lined 9x13" baking tray. The sponge will be slightly thicker as the surface area is slightly smaller, but that's fine.
Bake it in the middle of the oven for 6-7 minutes, or until it is a very very light golden colour. We don't want it to get too much colour.
Remove it from the oven and allow it to cool in the sponge roll mat/baking tray. Repeat, and bake the second sponge.
Into a medium saucepan, add the whole milk, egg yolks and sugar (70g).
Whisk constantly until it reaches 80-82C (176-179F) on a digital thermometer.
Immediately remove it from the heat and pass it through a sieve, into a clean bowl or measuring jug. Note - you will only need HALF of this mixture for the créme mousseline. If you half the recipe, you risk scrambling the egg yolks easily, as the quantities are so low, so it is better to make a slightly larger batch, then half it, to get the required amount.
Set it aside to cool to room temperature.
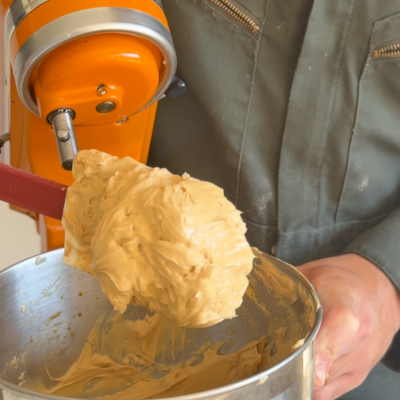
Once cooled, pour half of the mixture into the bowl of a stand mixer fitted with a paddle attachment. Add in the soft butter and beat on a medium speed for 1-2 minutes.
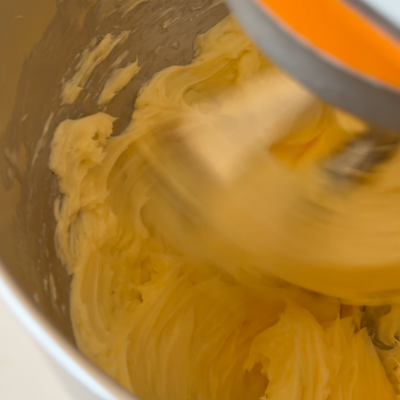
Initially it will look a bit curdled, but as you continue to beat, it will become smooth.
Brew the fresh espresso and then pour this into the butter mixture while beating.
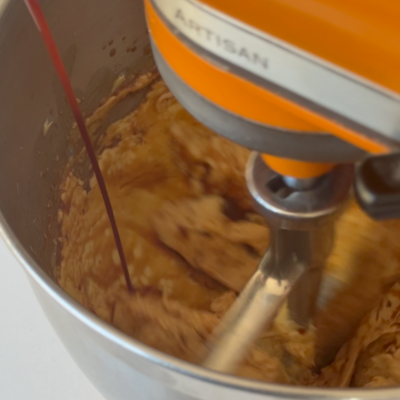
Again, this will look a little split initially, but keep beating (and scraping down the bowl if needed) until it is smooth. Set this aside.
Into a small saucepan, add the water and sugar. Place it onto a medium heat.
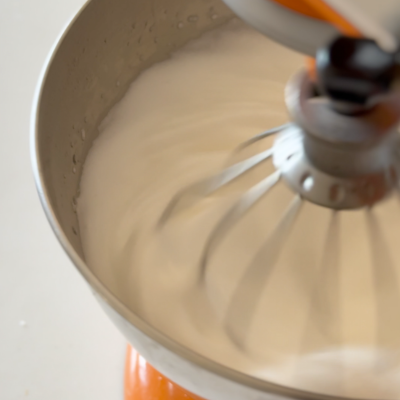
Meanwhile, start whisking the egg whites in a stand mixer. As this is a relatively small quantity, the whisk attachment can sometimes struggle to catch them. If needed, give them a quick whisk by hand first to get them started. When the sugar syrup is ready, the egg whites should be thick and frothy. If you find this small quantity difficult to work with, you can double the recipe (sugar, water, egg whites) and simply use half of the meringue in the final crème mousseline.
Heat the sugar syrup until it reacheds 118C/244F on a digital thermometer.
Immediately remove it from the heat and slowly drizzle it into the whisking egg whites. Keep whisking for around 5 minutes on a medium speed, until you have a thick, glossy meringue.
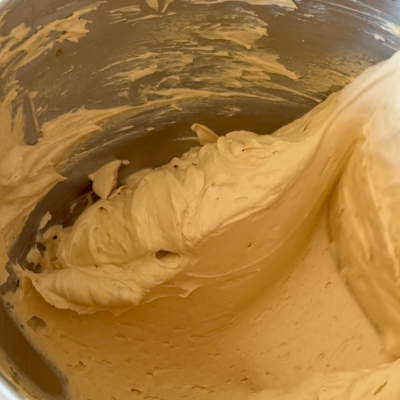
Add the coffee buttercream back on the stand mixer and give it a quick beat with the paddle attachment to loosen it.
While mixing, scoop in the meringue in 3-4 parts. Initially it might look a little split, but as you beat, it should smooth out. Add in a good pinch of salt and stir it through. Adjust it to your taste - I like quite a lot of salt to balance some of the sweetness. Although this layer will be slightly sweeter, it will be balanced out by the ganache which has no additional sugar added.
Carefully flip one of the cooled jaconde sponges onto a tray lined with a large silicon mat or piece of baking paper.
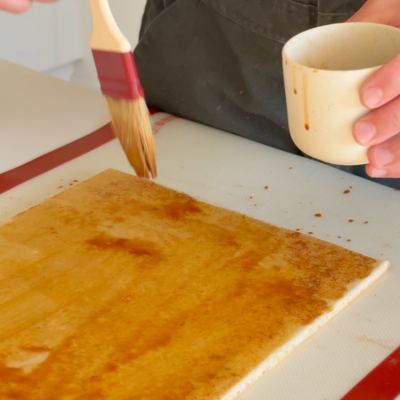
Use a pastry brush to soak the sponge with half of the espresso.
To get perfectly even layers, I use pastry rods. These are inexpensive plastic rods available in precise thicknesses, such as 2, 4 and 6 mm. For this Opera cake, I aim for each layer of filling to be 6 mm thick. The sponge is approximately 6 mm thick once baked, so I place the 6 mm rods alongside the sponge, then stack the 6 mm rods on top. This creates a total height of 12 mm, giving you a precise guide for the thickness of the filling.
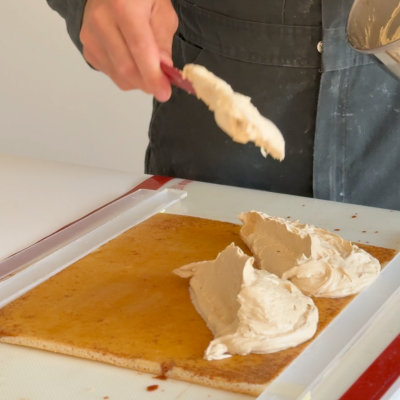
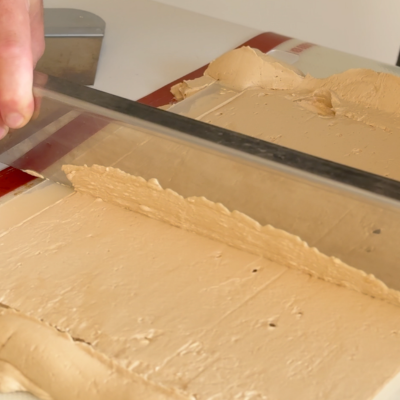
Dollop the coffee crème mousseline over the sponge and spread it roughly with a palette knife. Then, using a large, flat scraper or bench scraper, rest the scraper on top of the pastry rods and pull it across the sponge in one smooth motion, using the rods as a guide to create an even 6 mm layer of cream. Gently warm the scraper under hot water, dry it thoroughly, and use it to help smooth the cream. Slide the silicon mat/parchment paper onto a baking tray and place the sponge into the fridge.
Into a tall jug, add the chopped chocolate.
Pour the milk into a small saucepan, and place it over a medium low heat.
Once it is steaming, pour it over the chopped chocolate and allow it to sit for 2 minutes.
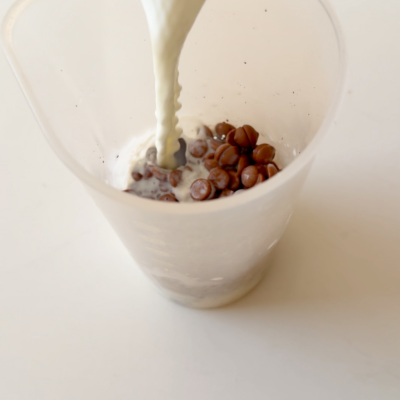
Add in the soft butter and use a hand blender to blend until smooth. Finally, stir in a pinch of flaked sea salt.
Allow the mixture to cool at room temperature (or in the fridge to speed it up) until it is a thicker, more spreadable consistency. About 15-30 minutes. (Mine was a little too thin in the photo, I should've let it cool further!)
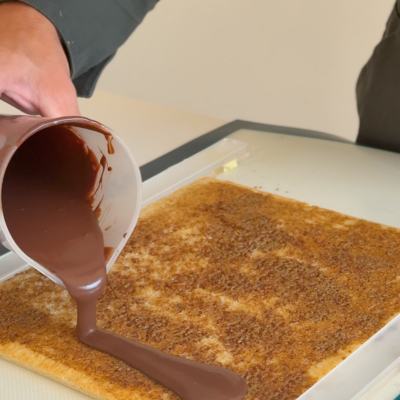
Repeat the same layering process as above (step 29), placing the pastry rods alongside the sponge and pouring the ganache over the top. Spread the ganache as evenly as possible using a palette knife or bench scraper.
The ganache is slightly more fluid than the crème mousseline, so it can be a little trickier to spread evenly as it will absorb slightly into the sponge. You will need to use all of the ganache, so don’t worry if the surface isn’t perfectly level at first. As long as you spread it evenly and work it as close to the height of the pastry rods, the layers will still look great once the cake is assembled. Slide the silicon mat/parchment paper onto a baking tray and place the sponge into the fridge until the ganache is firmer to the touch. If you need to make this ahead of time, you can keep both layers of sponge (coffee & chocolate) in the fridge overnight, and stack/glaze the following day.
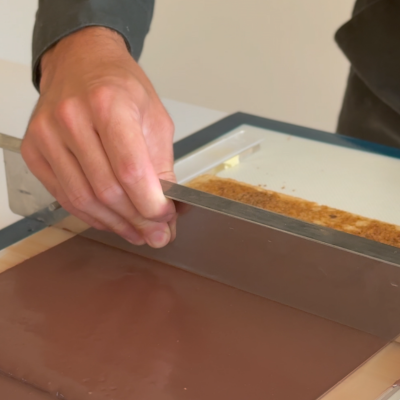
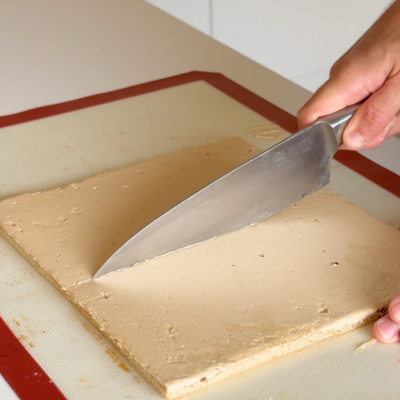
Remove both trays from the fridge and with the long side of each sponge facing you, cut them in half with a hot knife.
Starting with the coffee sponge on the base, with a palette knife or cake lifter, place a layer of chocolate sponge on top, followed by coffee, and finally chocolate.
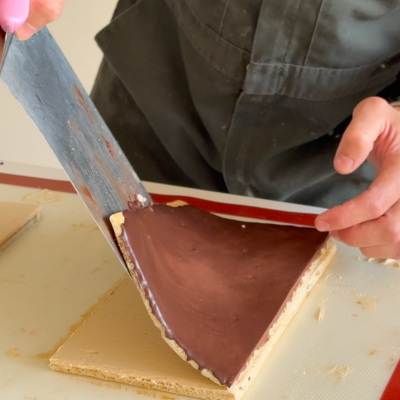
Place the entire cake back into the fridge for 30 minutes.
15 minutes before, prepare the chocolate glaze by melting the chocolate and neutral oil in a bowl over a pan of gently simmering water. Set it aside to cool to 40C/104F.
Remove the chilled opera cake from the fridge as soon as the glaze is at temperature.
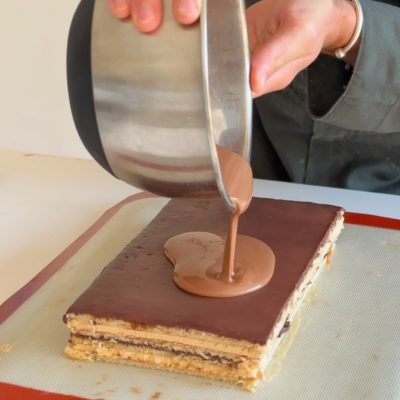
Pour the glaze over the centre of the cake, directing it slightly towards one side so that roughly half of the surface is covered. Then, using a large palette knife or offset spatula, gently push the glaze across the cake in one smooth motion, working from the covered side towards the uncovered side. Try to spread it in one continuous movement rather than going back and forth, which can disturb the glaze and create an uneven surface. The aim is to spread the glaze just enough to cover the entire surface in a thin, even layer. Don't worry if it drips down the sides.
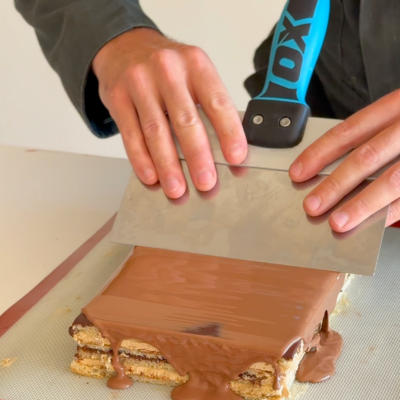
Lift the cake into the fridge, just until the glaze is set to the touch.
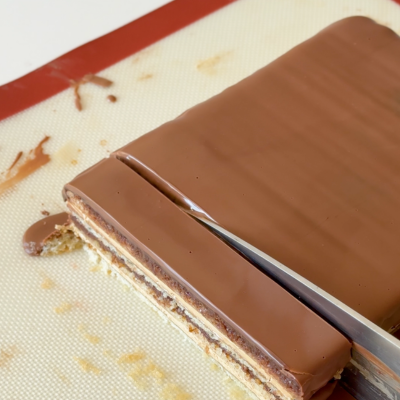
To serve, use a hot knife to slice the edges off the cake, then cut it into your desired portions. I like to do thin rectangular slices. You should get 6-8 rectangles. The cake needs to sit at room temperature for atleast 30-60 minutes once sliced so that the fillings can soften, before serving.