
Decadent Baked Chocolate Tart
TIER 1
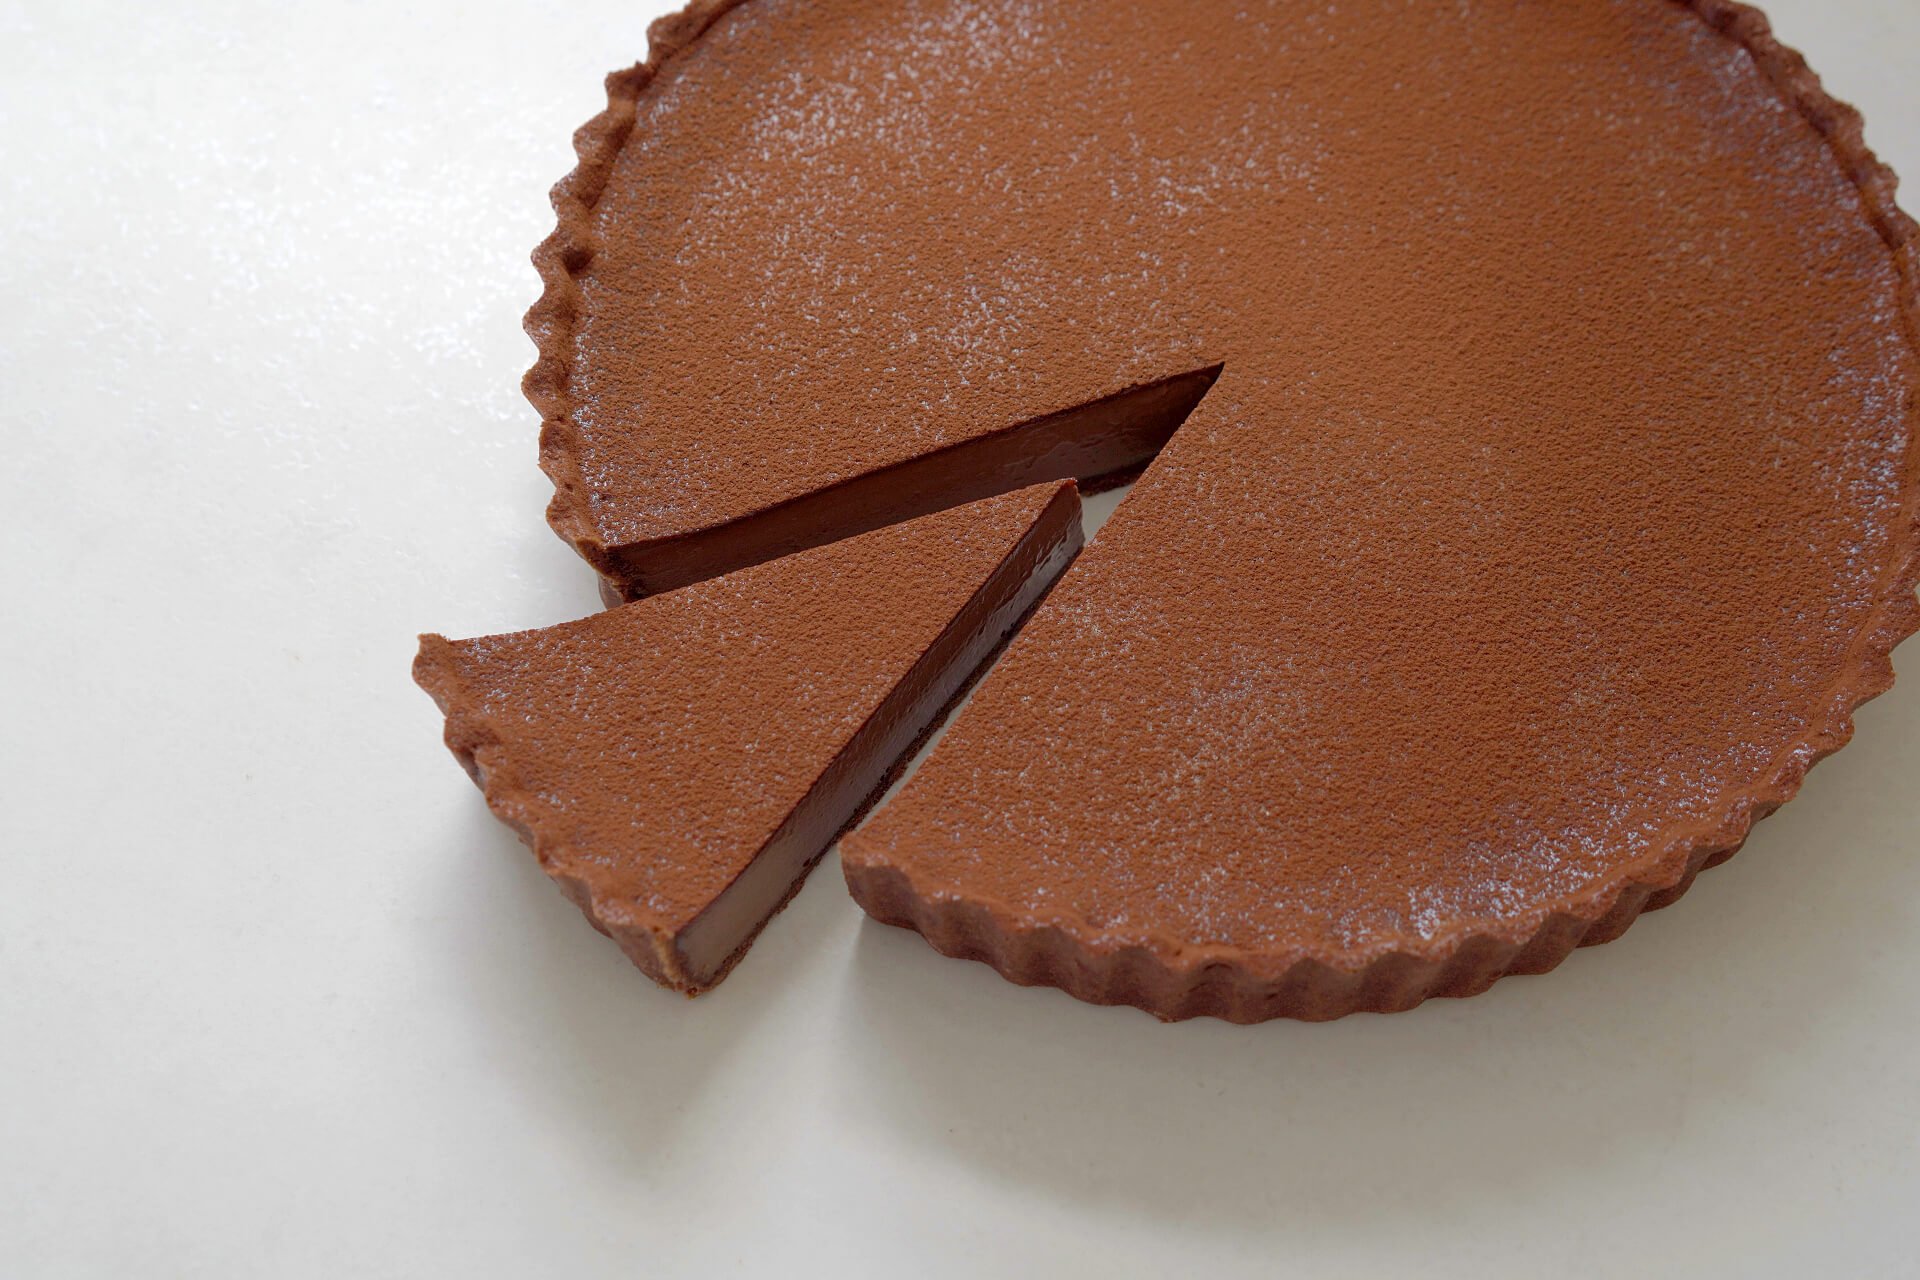
Decadent Baked Chocolate Tart
This recipe teaches you how to master the perfect chocolate pastry, and create the smoothest chocolate filling. Decadent really is the only way to describe it! It’s light but rich, and is best served with a nice dollop of Vanilla Chantilly.

1
9" TART
Ingredients
Makes 1 9-inch Tart
For the chocolate pastry
70g powdered/icing sugar
100g unsalted butter, cold and cubed
20g cocoa powder
50g egg yolks
180g all purpose/plain flour, plus a pinch of sea salt
For the cocoa egg wash
40g egg yolks, plus 5g cocoa powder
10g heavy/double cream
For the filling
155g whole eggs
85g granulated/caster sugar
pinch of sea salt
180g heavy/double cream
325g whole milk
130g dark chocolate, 70% cocoa solids, melted
Special equipment
Stand mixer with paddle attachment
9-inch (22.8cm) fluted tart tin
Method
Chocolate pastry and egg wash
- Into the bowl of a stand mixer fitted with the paddle attachment, sift in the sugar. Add the butter and the cocoa powder.
- Beat for 2 to 3 minutes, or until the mixture forms a smooth paste, pausing to scrape down the sides as needed.
- Add in the egg yolks, scrape down the sides and beat for 30 seconds, or until incorporated.
- Scrape down the bowl once again to ensure no butter is stuck to the sides. Add the flour and salt and mix on low speed for about 20 to 30 seconds, or until the mixture pulls together into a dough.
- Remove the dough from the bowl and gently work it into a disc shape. Wrap the dough in plastic wrap/cling film and refrigerate for 30 minutes.
- Take the dough out of the fridge and gently squeeze it, using your hands to test the firmness. You want the dough to be slightly pliable but still cold. If the dough is too soft it will get sticky as you roll, but if it is too cold it will crack. It might need a minute or two at room temperature to get it to the right consistency.
- Lightly flour the dough and your rolling pin, and working quickly, roll the dough into a rough circle until the pastry is relatively thin, about 0.15 to 0.20-inch (4mm to 5mm) thick. Lift the dough up occasionally and lightly flour underneath to prevent it from sticking. If the dough is tearing or feels too warm, place it on a baking tray and refrigerate for 10 to 15 minutes, then try again.
- Place your rolling pin at the top of the circle and fold the top edge of the dough over the rolling pin. Pull the rolling pin back towards you, which will wrap the dough around the rolling pin.
- Starting at the bottom edge of your fluted tart tin, carefully unroll the dough from the rolling pin, to cover the entire tin.
- Use your fingers to gently press the dough into the edges of the fluted indents. If the dough is tearing, simply take any excess pastry and patch the holes.
- Take the rolling pin, and pressing firmly against the top of the tin, roll it over the entire tin to trim away the excess dough. Place the tin on a tray and pop it into the freezer for 30 minutes. Pre-heat your oven to 350°F/175°C.
- Cut a large circle of parchment/baking paper, and scrunch this up a few times so that it is flexible. Remove the tray from the freezer and use a fork to poke holes evenly across the base of the pastry.
- Place the parchment/baking paper on the inside of the pastry and press it into the edges. Pour your baking beans or rice into the base and spread them out. Place the tray with the tin on in the oven and bake for 25 minutes.
- After 25 minutes, remove the tray from the oven and carefully lift out the parchment paper with the baking beans on. Return the tray to the oven and continue to bake until the pastry is an even golden color—about 5-10 minutes.
- Remove the tray from the oven and allow the pastry to cool for 10 minutes.
- Very carefully remove the pastry from the tin, keeping the removable base on the bottom. Really thoroughly mix together the ingredients for the egg wash to make sure the cocoa powder is incorporated.
- Using a pastry brush, lightly egg wash the inside and outside of the tart shell. Place it onto the tray and back into the oven for 5-7 minutes, or until the egg wash has completely set
- Remove the tart from the oven, allowing it to cool slightly. It is now ready to add your filling.
Filling
- Lower the oven temperature to 285°F/140°C.
- In a medium bowl, whisk together the egg, sugar, and salt for 1 minute.
- In a small saucepan on the stovetop over medium heat, combine the cream and milk. Bring the mixture to a gentle simmer, then slowly pour it over the egg mixture and whisk constantly until combined.
- Place the melted chocolate in a medium bowl and slowly pour the hot cream mixture over the chocolate, using a spatula to stir in small circles in the center of the bowl (ensure the melted chocolate is warm for this step). Use a spoon to scoop off any foam from the top.
Assembly
- Place the baked tart case, still in the pan, on a baking tray in the center of the oven. Carefully pour the chocolate filling into the tart shell, filling it just below the lip of the tart shell. Bake for about 50-60 minutes, or until there’s a wobble about 3” (7.5cm) big in the center of the tart.
- Remove the tray from the oven and allow the tart to cool to room temperature before placing it in the fridge for 2 hours.
- Remove the tart from the fridge and pop it out of the pan and onto your serving plate. oven. Decorate the tart with a dusting of cocoa powder around the edges.
Shop the Equipment


Chocolate and Caramel Tartlets
TIER 2
Chocolate and Caramel Tartlets
For this recipe, we use the same pastry and filling from Tier 1, but we advance it by using individual perforated tart rings, and by creating a Chocolate Namelaka and a Salted Caramel. I’ve used a #127 piping nozzle to create a funky design around the edge, but you can do whatever you fancy!
6
TARTLETS
Ingredients
Makes 6 Tartlets
For the chocolate pastry
70g powdered/icing sugar
100g unsalted butter, cold and cubed
20g cocoa powder
50g egg yolks
180g all purpose/plain flour, plus a pinch of sea salt
For the cocoa egg wash
40g egg yolks, plus 5g cocoa powder
10g heavy/double cream
For the Namelaka
3g powdered gelatin
18g cold water
160g dark chocolate, 70% cocoa solids
120g whole milk
12g glucose
240g heavy/double cream, cold
For the salted caramel
88g heavy/double cream
23g whole milk
68g glucose syrup, divided
40g superfine/caster sugar
1g flaky sea salt
30g unsalted butter
For the filling
100g eggs
50g granulated/caster sugar
pinch of sea salt
110g heavy/double cream
200g whole milk
80g dark chocolate, 70% cocoa solids
Special equipment
Stand mixer with paddle and whisk attachments
6x 3 x 0.78 inch (7.6×1.98cm) perforated tart rings
2x piping bags, plus a #127 tip piping nozzle
Hand blender
Method
Chocolate pastry and egg wash
- Into the bowl of a stand mixer fitted with the paddle attachment, sift in the sugar. Add the butter and the cocoa powder.
- Beat for 2 to 3 minutes, or until the mixture forms a smooth paste, pausing to scrape down the sides as needed.
- Add in the egg yolks, scrape down the sides and beat for 30 seconds, or until incorporated.
- Scrape down the bowl once again to ensure no butter is stuck to the sides. Add the flour and salt and mix on low speed for about 20 to 30 seconds, or until the mixture pulls together into a dough.
- Squeeze the mixture in your hand to form a rough ball. Place the ball of dough onto a silicone mat. Place a second silicone mat on top and roll the mixture into a rough rectangle, getting it around 0.15 to 0.2 inch (4mm to 5mm) thick. If you don’t have silicone mats you can roll the dough between parchment paper, but it will be more difficult as it has less grip. Place it in the freezer for 20 minutes.
- While the dough is chilling, take the perforated tart ring and very lightly grease the inside with soft butter. This helps to prevent the dough from sticking to the ring.
- Remove the chilled dough from the freezer and, working quickly, peel the top silicone mat off of the dough. Press the 4 tart rings firmly into the dough, lift them up, and transfer them to a perforated tray lined with a perforated baking mat. The dough should be cold enough that it attaches to the ring as you lift it up. Place the tray in the fridge while you cut the walls.
- With the remaining dough, use a ruler and a sharp knife to cut 4 strips of dough each measuring 9.6 x 0.9 inches (24.4 x 2.3cm). These measurements seem quite precise, but this will ensure the dough fits perfectly into the tart rings with no excess overlapping. If they feel too warm to lift up, place them back in the freezer for 5 minutes just so they can cool back down slightly.
- Remove the baking tray with the tart bases from the fridge and remove one strip of dough for the walls.
- Working quickly, take the strip of dough and place it inside the tart ring. Use your fingers to gently press together this strip of dough, against the base of the tart. The idea is to slightly push down the wall of dough so that it meets the dough on the base of the tart shell and there are no gaps. If at any point you feel the dough is too warm or is tearing, place everything back in the freezer for 10 minutes then carry on.
- Repeat this with the remaining tarts, again, chilling the dough if needed. At this point, squeeze together the remaining scraps of dough, and repeat the process, rolling the dough and chilling it, so that you can create the final 2 tart shells.
- Once you have lined all the tart shells, avoid trying to move them in case the dough tears. Chill the entire tray for 15 minutes and pre-heat your oven to 350°F/175°C.
- Remove the shells from the freezer and holding a knife perpendicular to the tart shell, trim off the excess pastry hanging over the tart ring so that the pastry is flush.
- Place the tart shells in the oven, and bake for 15 minutes. While they bake, thoroughly whisk together the ingredients for the egg wash.
- Remove the tarts from the oven and allow them to cool for 5 minutes. At this point, the pastry should have retracted slightly from the ring mold, and you should be able to lift it off easily.
- Lift the shells up and using a pastry brush, apply an even egg wash all over the tart. Place them back on the tray and into the oven for a further 5-8 minutes. The pastry is blind baked now ready to add your filling.
Namelaka
- In a small bowl, combine the powdered gelatin and cold water. Mix well and allow to bloom for 5 minutes.
- To a medium bowl, add the chocolate and place the bowl over a pan of gently simmering water without allowing the bowl to touch the water. Stir until the chocolate has completely melted. Remove the bowl from the heat and set aside.
- To a small saucepan over medium heat, combine the milk and glucose. Stir the mixture until steaming. Remove the saucepan from the heat and stir in the bloomed gelatin until it completely dissolves.
- Slowly pour this mixture over the melted chocolate, stirring in small circles in the center of the chocolate as you pour. Initially, the mixture will look quite split and oily, but as you add the remaining milk, everything will pull together.
- Add the cold cream and use a hand blender or a hand whisk to mix until combined. Cover the surface with plastic wrap/cling film and refrigerate for a minimum of 5 hours or ideally overnight.
Salted Caramel
- In a medium saucepan on the stovetop over medium heat, combine the milk, heavy cream, and 23 grams of corn/glucose syrup. Bring to a gentle simmer, whisking the mixture to ensure the syrup has fully dissolved. Remove the saucepan from the heat but ensure the mixture stays warm.
- In a medium saucepan on the stovetop over medium heat, combine the superfine/caster sugar and the remaining 45 grams of glucose sugar. Cook until the mixture turns a deep caramel color, whisking slowly to help disperse the sugar.
- Once golden, immediately pour in the hot cream mixture, being very careful as it will bubble up violently. Whisk the mixture and cook for 1 minute.
- Remove the saucepan from the heat and pour the mixture through a sieve and into a large bowl. Let the mixture cool for 2 minutes. Add the sea salt flakes and butter. Blend or whisk until smooth.
- Pour the mixture into a container and chill for at least 3 hours
Filling
- Lower the oven temperature to 285°F/140°C.
- To a medium bowl, add the chocolate and place the bowl over a pan of gently simmering water. Stir until the chocolate has completely melted. Remove the bowl from the heat and set aside.
- In a medium bowl, whisk together the eggs, sugar, and salt for 1 minute.
- In a small saucepan over a medium heat, combine the milk and cream. Heat until the mixture is steaming.
- Slowly pour the milk mixture over the eggs, whisking to combine as you pour.
- Slowly pour this mixture over the melted chocolate, using a spatula to stir the mixture in small circles in the center as you pour. Once everything has been combined, use a spoon to scoop off any foamy bubbles on the top.
Assembly
- Place the tray with the tarts on, in the middle of the oven and carefully pour in the chocolate filling—just to the top of the tart shell. Bake for about 25 or 30 minutes or until they have a very small wobble in the center.
- Remove the tarts from the oven and allow them to cool to room temperature before refrigerating for 3 hours.
- Remove the namelaka from the fridge and add it to the bowl of a stand mixer fitted with the whisk attachment. Whisk on medium speed until you get a medium–stiff peak.
- Add the mixture to a piping bag fitted with a small St. Honore nozzle. Holding the piping bag just slightly below vertical, pipe the namelaka around the outside edge of the tart in a zigzag motion, leaving a small gap in the center. If you have a cake turntable, this can make it a little easier to spin the tart as you pipe.
- Add the salted caramel to a piping bag and snip a small hole off the end. Pipe this into the center of the tart.
- Allow the tarts to sit at room temperature for 30 minutes before serving.
Shop the Equipment


