
Apple Crumble
TIER 1
Apple Crumble
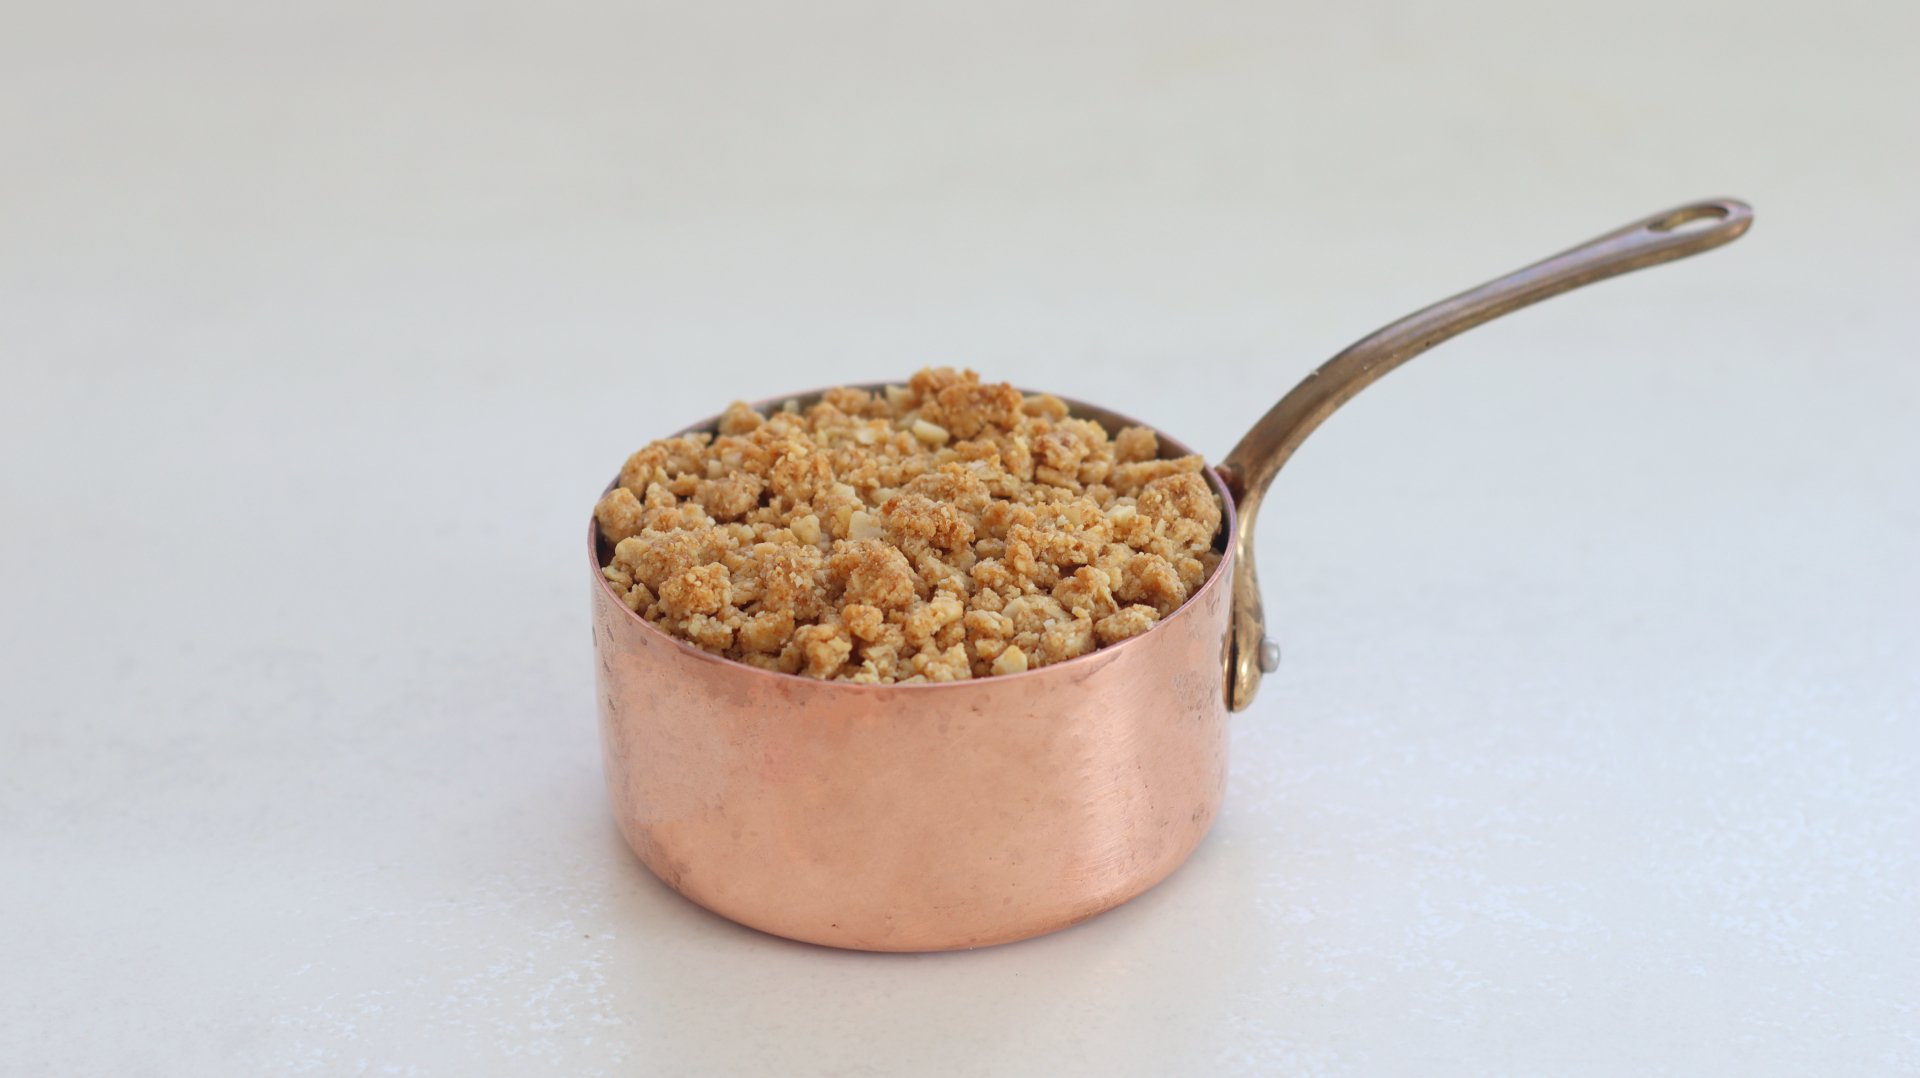
I like to call this my ‘restaurant crumble’ – not quite your simple butter, flour, sugar mixture as this crumble topping has oats, nuts and muscovado sugar. It’s a bit fancy but I love all the textures. The base of an apple crumble is a great apple filling and this is the fundamental thing we are learning here which we take through to Tier 2. It’s rich with spices and has a lovely soft, almost caramel like sauce wrapping around the apples. Serve with custard (and ice cream!).

4
INDIVIDUAL CRUMBLES
Ingredients
Makes 4 Individual Crumbles
Crumble
125g Plain/All-Purpose Flour
85g Unsalted Butter, Cold & Cubed
15g Oats
30g Whole Hazelnuts, Skinned
60g Ground Almonds
40g Muscovado Sugar
Pinch of Flakey Salt
Apple Filling
35g Unsalted Butter
600g Braeburn Apples (About 12 Apples)
55g Dark Muscovado Sugar
10g Caster/White Sugar
14g Cornstarch/Corn flour
½ Tsp Ground Cinnamon
¼ Tsp Ground Ginger
½ Tsp Vanilla Bean Paste
Freshly Grated Nutmeg
75-100g water (adjust based on desired consistency)
Lemon Juice
Flakey Sea Salt
Special equipment
Food processor
Ramekins
Method
Apple Filling
1. Peel and core the apples, then cut them into cubes – 1x1cm as a guide.
2. Toss them in a bowl with a squeeze of lemon juice once chopped, to prevent them from browning.
3. Into a medium saucepan, add the butter and place it over a medium heat.
4. Stir it until the butter begins to brown slightly and smells nutty.
5. Add in the apples, and stir, cooking over a medium heat for 2 minutes.
6. Add in the sugars, and continue to cook for 5 minutes, to release some of the moisture from the apples.
7. Reduce the heat to medium low, and add in the spices, cook for 30 seconds, then add in the cornflour and cook for a minute.
8. Stir in the water, starting with about half, until you have a sauce that is thick and glossy – the consistency of a runny caramel. If you prefer a crumble with a saucier consistency, then you can add more water.
9. Finally, stir through a pinch of flaky sea salt.
10. Pour the mixture onto a baking tray, and cover the surface with clingfilm. Refrigerate for 1 hour.
Crumble
1. Into a food processor, add all of the ingredients for the crumble.
2. Pulse the mixture until the butter has broken down into pea size pieces.
3. Tip it out onto a large tray and use your hands to squeeze it together until it clumps up.
4. Then rub it between your hands to form a crumble-like mixture. Spread it evenly across your baking tray.
5. Place the tray in the freezer for 30 minutes.
6. Meanwhile, pre-heat the oven to 175C/345F non-fan assisted.
7. Once the crumble has chilled, bake it in the oven for 12 minutes. No need to stir it, just remove it from the oven and let it cool for about 15 minutes. Leave the oven on.
Assembly
1. Remove the chilled apple filling from the fridge.
2. Take 4 ramekins or individual saucepans (I used small copper pots) and fill them up about ¾ of the way with the apple filling.
3. Take the cooled crumble and scoop it on top, filling it to the top of the ramekin.
4. Place the ramekins on a baking tray and bake for around 25-30 minutes, or until the crumble is a deep golden brown colour.
5. Remove them from the oven and serve immediately with ice cream or custard!
Shop the Equipment


Apple Pie
TIER 2
Apple Pie
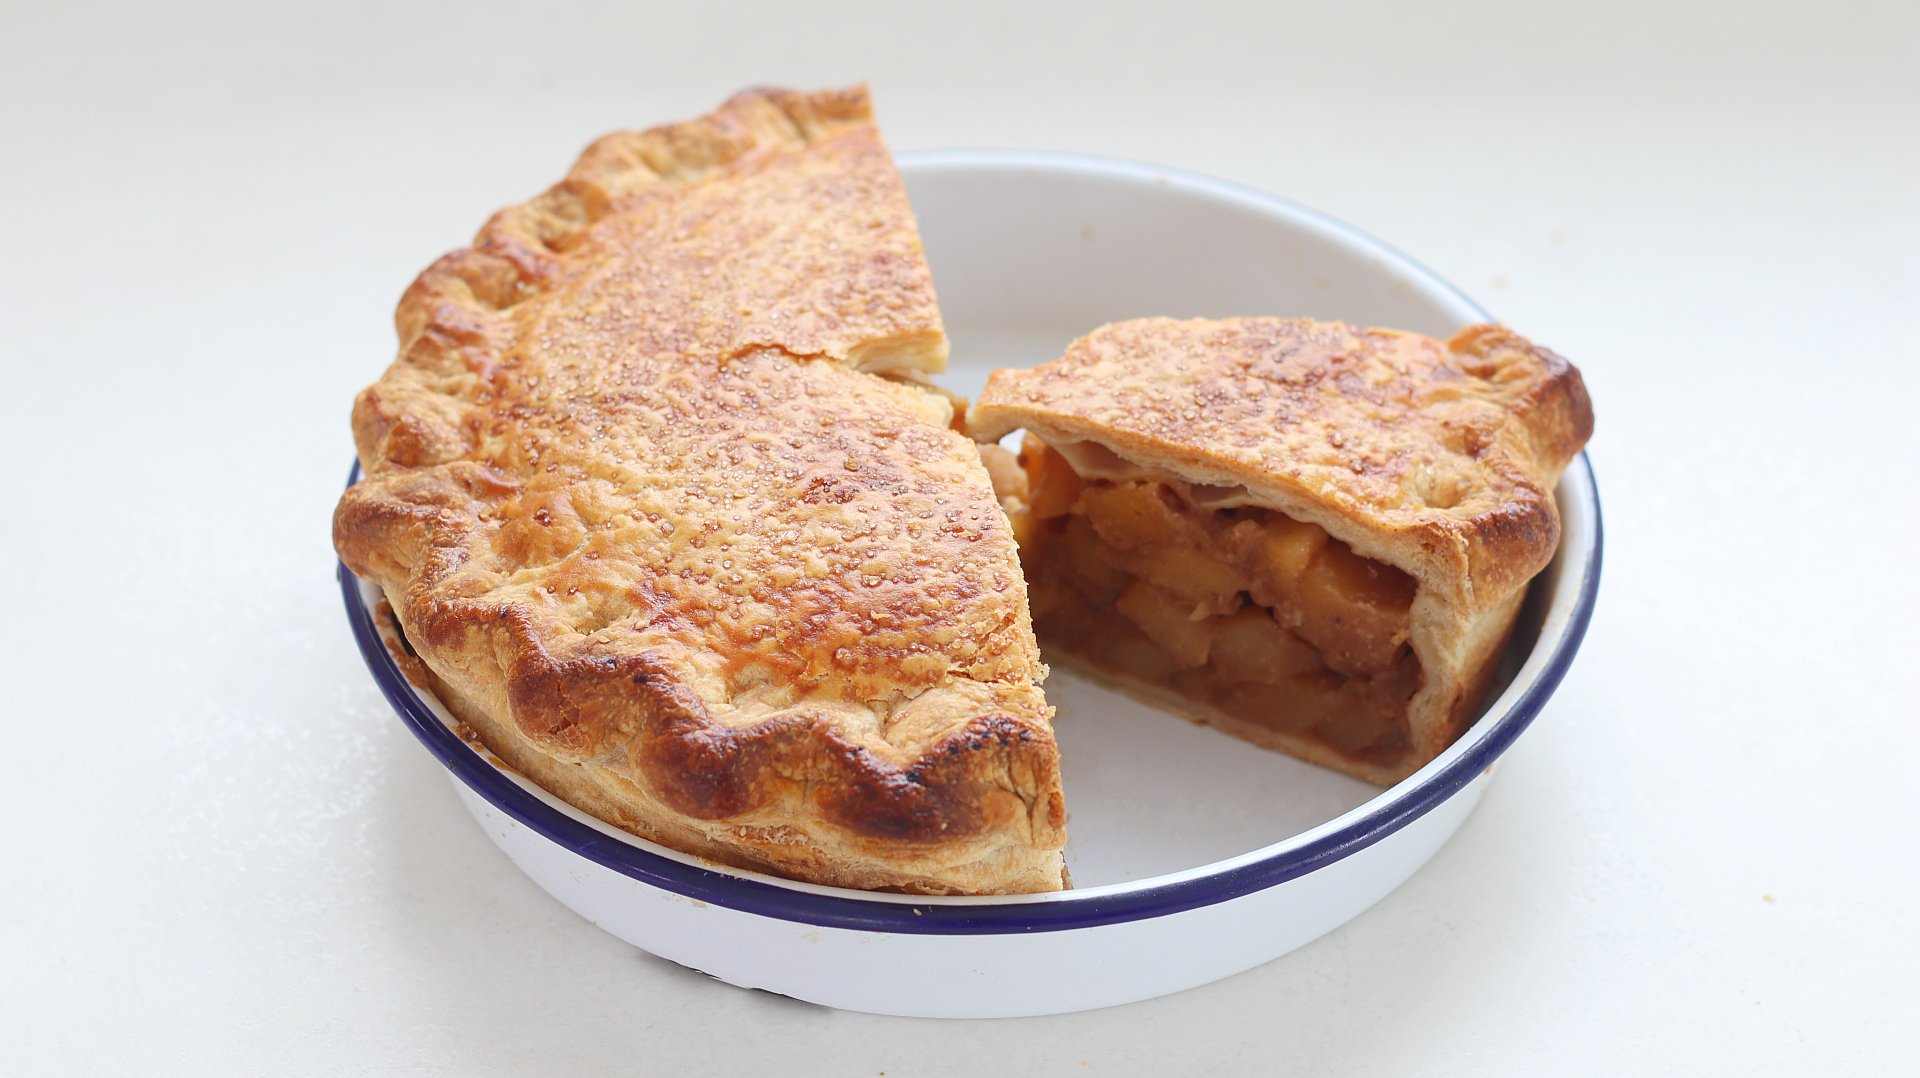
A pastry chef once recommended adding cream cheese to a pie dough for extra tenderness and I have to say, I really love this dough! It is slightly technical as we are ‘laminating’ the pie dough to get it extra flakey, but it’s nothing like laminating a croissant so don’t panic! We use the same apple filling as Tier 1 and use it for a classic double crust apple pie. Serve with custard (and ice cream!).
1
9 inch pie
Ingredients
Makes 1 9-inch Pie
Pie Dough
500g Plain/all-Purpose Flour
6g Fine Sea Salt
25g Caster/White Sugar
325g Unsalted Butter, Cold
80g Full-Fat Cream Cheese, Cold
100–150g Ice-cold water
Apple Filling
75g Unsalted Butter
1200g Pink Lady Apples (About 12 Apples)
110g Dark Muscovado Sugar
20g Caster/White Sugar
27g Cornstarch/Corn flour
¾ Tsp Ground Cinnamon
½ Tsp Ground Ginger
1 Tsp Vanilla Bean Paste
Freshly Grated Nutmeg
150–225g water (adjust based on desired consistency)
Lemon Juice
Flakey Sea Salt
To Finish
1 Egg, Whisked
Demerara Sugar
Special equipment
9-inch pie dish
Rolling pin
Method
Pie Dough
1. Add the flour, sugar & salt into a large bowl.
2. Add in the butter (cut into small cubes), and toss it in the flour to coat the pieces.
3. Using your hands, work the butter into the flour, squeezing each piece between your fingers to flatten them.
4. Add in the cream cheese, and stir it through with your hands again to dissolve it into the flour mixture.
5. Now, mix in the ice-cold water, starting with about half, and swirl your hands to mix the water into the dry ingredients. Keep adding water just until there are no more dry ingredients in the bowl. The amount of water you need will depend on the type of flour you use.
6. Lift the dough onto your work surface and pull it together with your hands into a rough square shape.
7. Flour your work surface and the top of the dough, and using a rolling pin, roll it into a long rectangle. The dough might want to stick, so use a bench scraper to get underneath the dough to loosen it.
8. Fold one-third of the dough up, then fold the other third of the dough over the top of this. Wrap the dough in cling film and refrigerate for 30 minutes.
9. Repeat this laminating process two more times, rolling the dough into a rectangle and folding it on itself. Once you have performed the final fold, cut the dough in half, then wrap and chill the dough for at least 1.5 hours, or leave it overnight.
Apple Filling
1. Peel and core the apples, then cut them into cubes – 2x2cm as a guide.
2. Toss them in a bowl with a squeeze of lemon juice once chopped, to prevent them from browning.
3. Into a large saucepan, add the butter and place it over a medium heat.
4. Stir it until the butter begins to brown slightly and smells nutty.
5. Add in the apples, and stir, cooking over a medium heat for 2 minutes.
6. Add in the sugars, and continue to cook for 5 minutes, to release some of the moisture from the apples.
7. Reduce the heat to medium low, and add in the spices, cook for 30 seconds, then add in the cornflour and cook for a minute.
8. Stir in the water, starting with about half, until you have a sauce that is thick and glossy – the consistency of a runny caramel. If you prefer a pie with a saucier consistency, then you can add more water.
9. Finally, stir through a pinch of flaky sea salt.
10. Pour the mixture onto a baking tray, and cover the surface with clingfilm. Refrigerate for 1 hour.
Assembly
1. Remove one half of the pie dough from the fridge, and on a lightly floured surface, roll it out into a rough circle, around 3-5mm thick.
2. Lift it into a 9” pie dish – you should have a 1” overhang of dough over the edge of the tin.
3. Scoop the cooled apple filling into the dough, pressing it down with a spatula to remove any air pockets.
4. Place the pie in the fridge.
5. Remove the second piece of dough from the fridge, and on a lightly floured surface, roll it into a rough circle.
6. Remove the pie from the fridge and apply a light egg wash around the edge.
7. Lift the second piece of dough on top, and using your fingers, firmly crimp the edges to seal the two pieces of dough together.
8. Using scissors, cut the excess dough away, leaving about a ¼” of dough around the edge.
9. Fold this excess dough underneath itself to create a thick rim.
10. Use your thumb and index finger on one hand to gently pinch the edge of the dough. With the index finger of your other hand, press into the pinched section to push the dough outward, creating a fluted edge. Continue this motion, crimping the entire crust of the pie.
11. Place the pie into the fridge for 30 minutes.
12. Meanwhile, pre-heat the oven to 225C/435F non-fan assisted, and place a baking tray on the lower third rack of the oven.
13. Once the pie is chilled, remove it from the fridge and brush an egg wash over the dough.
14. Sprinkle a light dusting of demerara sugar on top, and then use a knife to cut 3 air vents in the centre of the pie.
15. Place it onto the pre-heated tray, and bake for 25 minutes.
16. Then, move the pie up to the middle shelf of the oven and lower the temperature to 180C/355F. Bake for a further 60-70 minutes.
17. The pie will darken quite quickly, so you will most likely need to cover the top of the pie with a sheet of foil for the final 30-45 minutes to prevent it from burning.
18. Once baked, the pie should be a deep golden colour, and the filling should be bubbling up slightly.
19. Remove the pie from the oven and allow it to cool. Let the pie cool for at least 30 minutes before serving. It will still be warm, with a soft, and runny center. But for cleaner slices, allow it to cool completely or even chill it in the fridge—then reheat individual slices as needed.
Shop the Equipment

