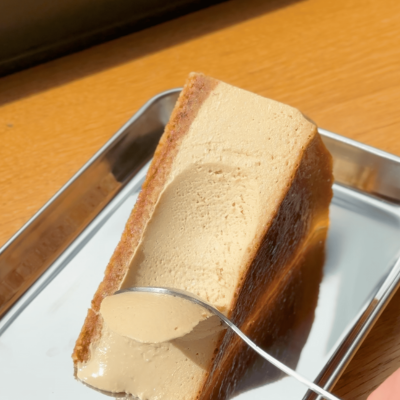
Caramel Burnt Basque Cheesecake
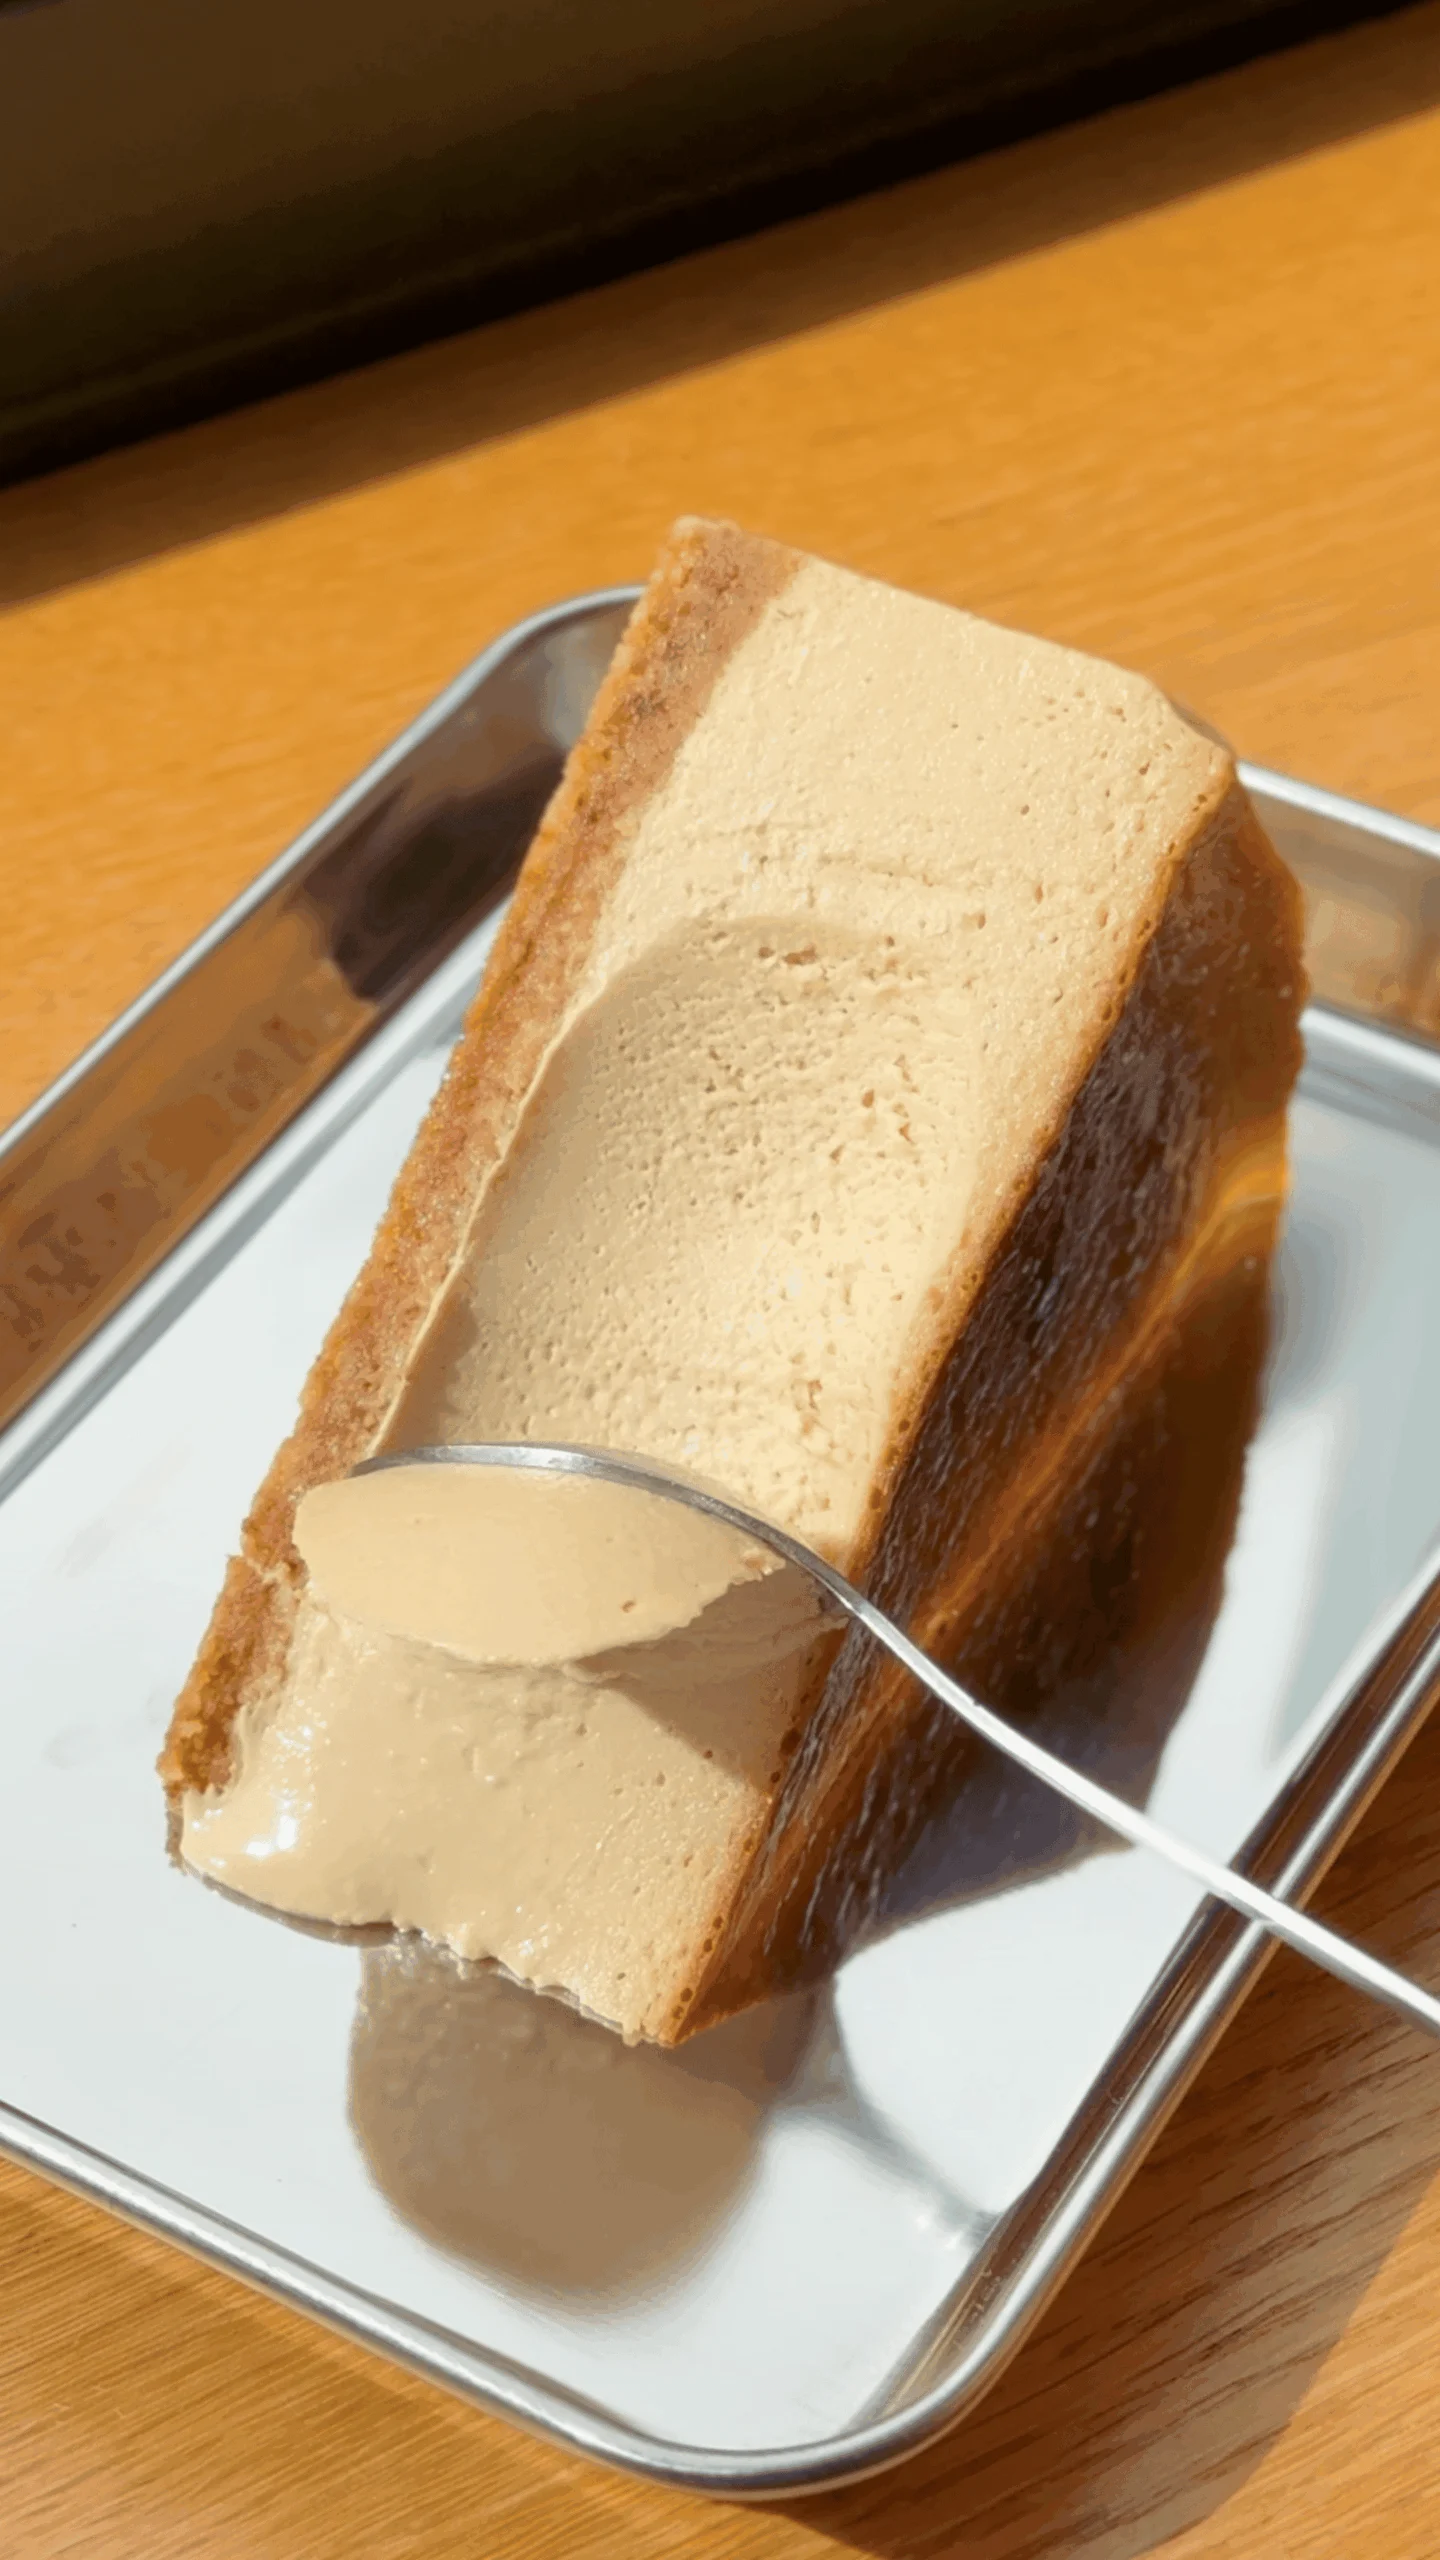
Caramel Burnt Basque Cheesecake
Caramel burnt basque cheesecake with a lovely homemade biscuit base might be my new favourite! The cheesecake has a soft, creamy texture combined with a sweet, but slightly dark, caramelised flavour.
When testing this recipe, I initially tried using caramel for all of the sugar quantity, but it ended up being very bitter and..cheesy! So a few tweaks later, and I found that replacing some of the caramel with brown sugar made a huge difference and still gave that lovely caramel flavour from the molasses.
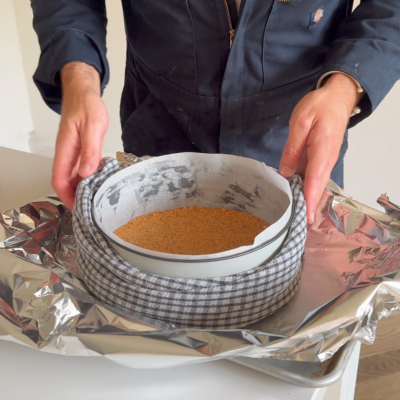
My wet tea towel method is a technique I stand by – no scrunching up parchment paper here please! It helps to control the temperature of the outside of the tin, leading to a uniform, even bake and a more consistent final texture.
If you haven’t tried my other recipes, definitely have a go at the pistachio burnt basque cheesecake or the chocolate version.
Ingredients
Method
Into a stand mixer fitted with a paddle attachment, add all of the ingredients.
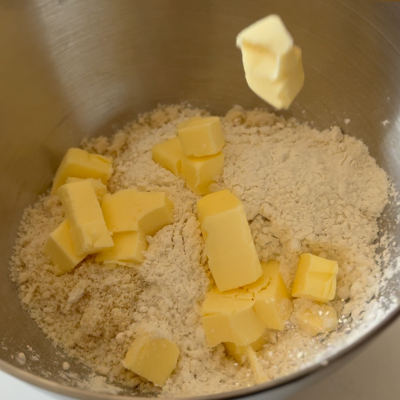
Mix on a low speed until the butter has broken down, and the mixture pulls together to form a dough.
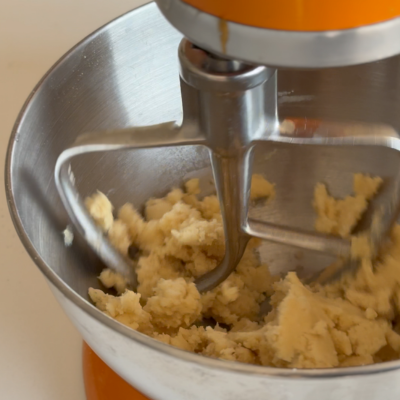
Lift it onto a silicon mat (or a piece of parchment paper) and place a second silicon mat/piece of parchment on top. Roll it relatively thin (3-5mm) and then place it onto a tray and into the freezer for 15 minutes.
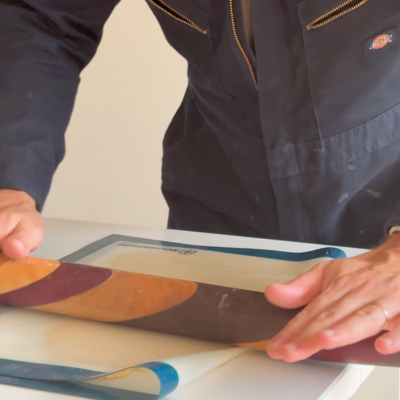
While it chills, pre-heat the oven to 175C/345F non fan assisted (160C/320F fan assisted).
Lift the chilled dough onto a lined silicon mat and bake it in the centre of the oven for 16-20 minutes, or until it is a deep golden brown. You want to take it slightly darker in colour than a typical biscuit.
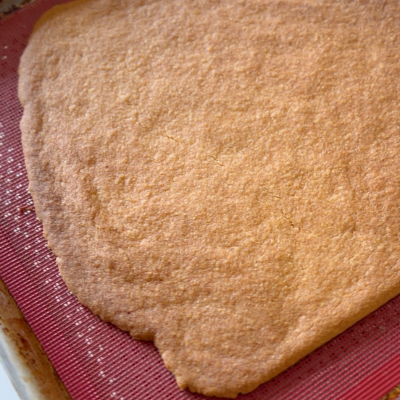
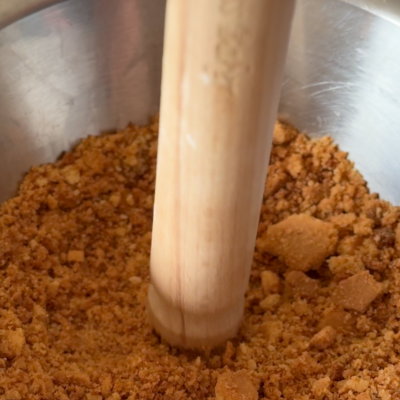
Remove it from the oven and then allow it to cool completely. Break it into a bowl using your hands or a rolling pin, crushing it into a fine crumb. Don't put this in a food processor, as it's already got fat in it, it will turn in to a paste like consistency if you do! Set it to one side.
Preheat the oven to 230°C/445F non-fan assisted with a rack on the upper third shelf. Lightly grease a 23x8.5cm (9x3.3") springform cake tin with butter. I prefer to use a loose bottom cake tin with a silicon seal, this makes it easier to demold and the silicon seal ensures no liquid leaks out! If you have a regular springform or loose bottom tin though, the biscuit base should act a bit of a buffer to stop anything leaking but I'd definitely recommend investing in a silicon sealed tin as they are game changers for cheesecake baking. Totally watertight and leak proof.
Line the base and sides of the tin with baking parchment. Place two sheets of foil onto a large baking tray, then place the lined tin on top. Note - I bake this non fan assisted so that the heating elements at the top of the oven caramelise the top of the cheesecake. If you are baking with fan assisted, bake at 215C/420F, but you may need to grill it (see step 24) for slightly longer to get more colour.
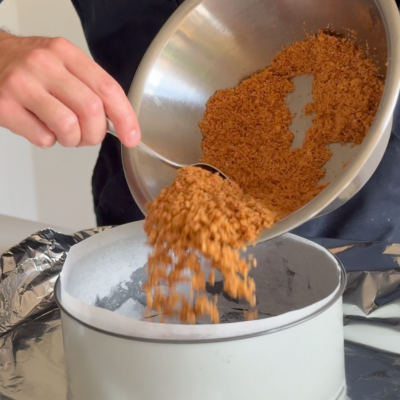
Scoop the crushed biscuits into the tin and spread them out into an even, flat layer. Place the tin in the fridge or freezer while you prepare the cheesecake mixture. Note - Unlike a traditional biscuit base, there is no need to add butter to the crushed biscuits.
Add 150g of the cream into a small saucepan and place it over a medium/low heat, stirring occasionally while you prepare the caramel.
Place the 50g of the 150g of caster sugar in a wide saucepan and heat over a medium heat. Do not stir it.
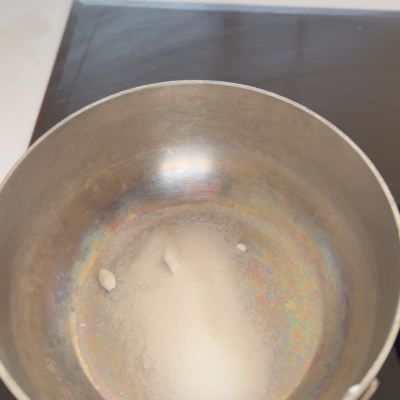
Once the outer edges of the caramel have started to melt and have turned a light golden colour, use a rubber spatula to gently press the hot caramel from the edges, towards the centre, in order to melt the sugar in the middle. The hot melted caramel should very quickly melt the undissolved sugar.
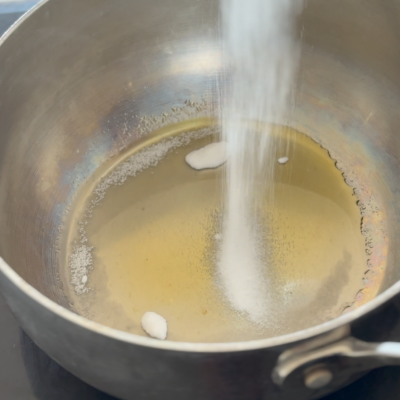
Once all the sugar has dissolved, add another third of sugar (50g). Sprinkle it into the centre of the melted sugar, and use the spatula again, to gently press the hot caramel from the edges, towards the centre, in order to melt the sugar in the middle.
Once this turns golden, add the final part of sugar and stir this through. Keep cooking the caramel until it is a nice even golden colour - not too dark, or it will be too bitter for the cheesecake.
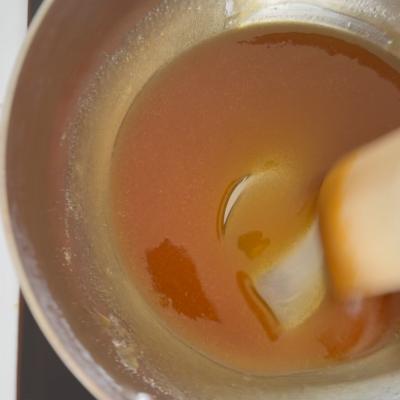
Once you are happy with the colour of the caramel, the cream should be steaming (not boiling). Slowly pour this over the caramel, whisking to combine. Be careful as it will bubble up violently. If the mixture seizes, the cream was not hot enough.
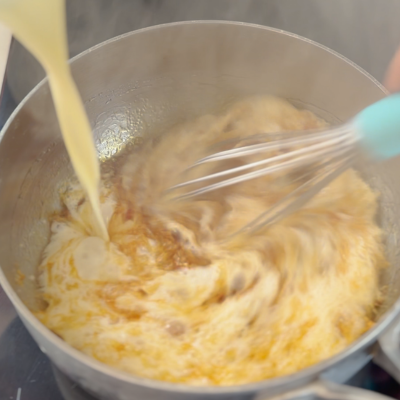
Whisk the cream through on a low heat until the mixture is smooth. About 30 seconds.
Remove it from the heat and then whisk through the remaining cold cream (300g). Transfer the mixture to a tall measuring jug and blend with a hand blender until smooth. You should have a light caramel cream. Set this aside to cool for 5/10 minutes.
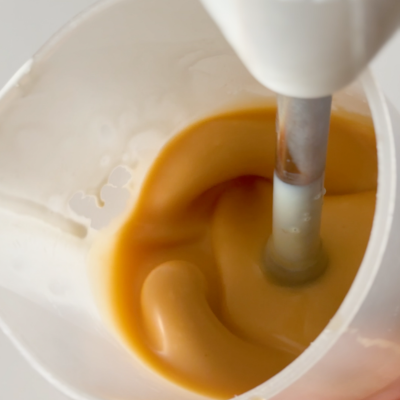
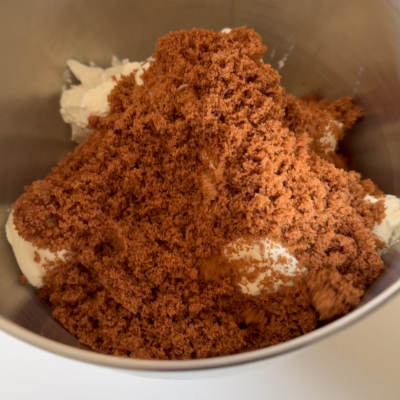
Into the bowl of a stand mixer, add the cream cheese, mascarpone, brown sugar, salt and beans from a fresh vanilla pod. Mix on a low speed, scraping down as needed, until smooth. About 1-2 minutes. Note - I prefer to use the cheaper supermarket own brand cream cheese as I think I get a better texture.
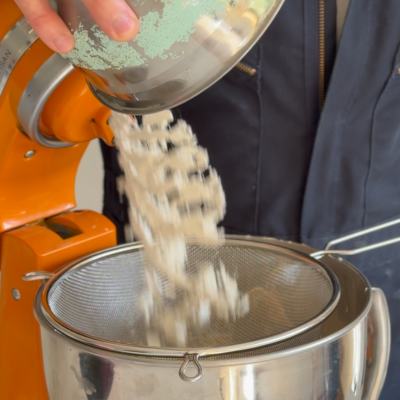
Sift in the flour and mix again on low, making sure the flour is fully incorporated.
Crack the eggs, whisk them, then weigh the required amount. Slowly drizzle these into the mixer, mixing on low. Once you have added all of the eggs, the bowl needs a good scrape as the cheesecake mixture won't fully incorporate. Mix again.
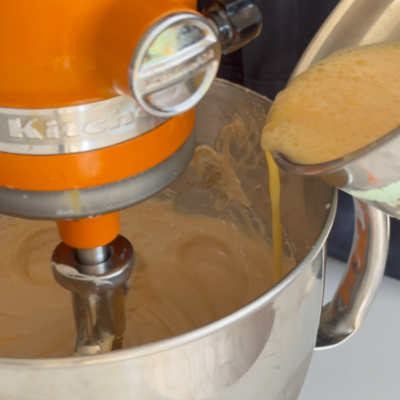
Finally, pour in the cooled caramel cream, mix, scrape down the sides and mix on low one final time to ensure it is smooth.
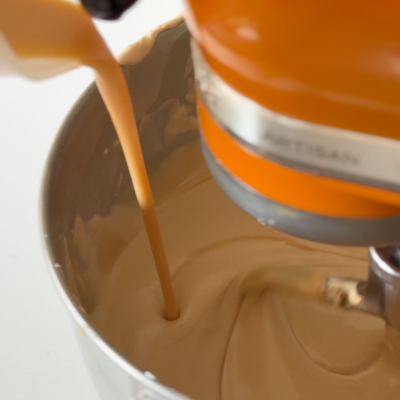
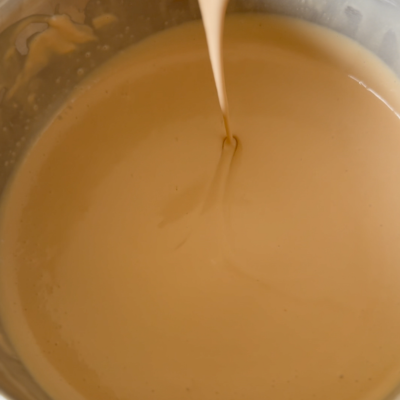
Remove the bowl from the mixer and tap it firmly on the work surface a few times to help get rid of any air bubbles.
Remove the cheesecake tin from the fridge/freezer. Take two tea towels and soak them in warm water so they are wet but not dripping. Wrap these around the outside of the cake tin, then fold the foil over the top of the tea towels.
Pour the cheesecake mixture through a sieve, on top of the biscuit base. It will be quite loose/liquid.
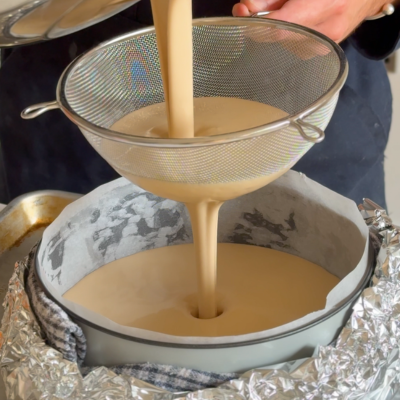
Bake in the oven for 35 minutes (ensuring it is on the upper third shelf) until it is a dark golden colour all over. My oven is a little inconsistent at browning so if you find it isn't dark enough, after 35 minutes, switch the oven to grill mode and grill until it is is a deeper, dark colour. Be very very careful here as you don't want to completely overcook the top of the cheesecake. the first time I did it, the entire cheesecake puffed up like a balloon! Depending on your grill it will only need 1-3 minutes so don't take your eyes off of it! Then immediately drop the oven to 160C/320F (put the oven back to non fan assisted mode) and cook for a further 25 minutes. When you gently shake the tray, about two-thirds of the cheesecake should wobble. As noted above, if you are using a fan oven, it may not get as dark during the initial bake so grill it as above using the same instructions, keeping a close eye on it.
Remove it from the oven and allow it to cool at room temperature for 30 minutes, then into the fridge overnight. Atleast 12 hours, if not longer.
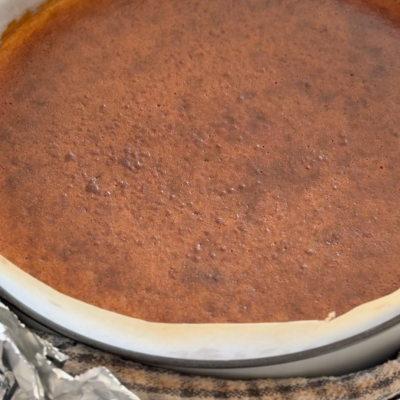
Once chilled, gently heat the sides of the tin and press it out/release the springform clip.
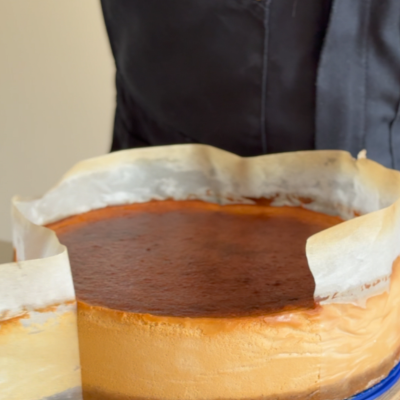
Use a hot knife to cut even, clean slices and serve.