Hazelnut & ‘Nutella’ Gelato
TIER 1
Hazelnut & ‘Nutella’ Gelato
For Tier 1 we focus on the two base ingredients that gear us up for Tier 2 – a rich hazelnut gelato and a homemade Nutella-style spread, also known as pâte à tartiner. The gelato gets its deep, roasted hazelnut flavour from 100% pure hazelnut paste. Once churned, we layer it with swirls of pâte à tartiner which sets into delicious little chocolate-hazelnut chunks that melt in your mouth with every bite. The recipe makes far more pâte à tartiner than you’ll need for the gelato, but keep the leftovers in the cupboard and spread it on toast. Once you’ve tried it, it won’t last long!

1kg
GELATO (approx)
Ingredients
Makes 1 tub gelato (approx 1kg)
Hazelnut Gelato
260g Whole Milk
320g Water
65g Skimmed Milk Powder
85g Liquid Glucose
20g Invert Sugar (Trimoline)
75g Dextrose
20g Egg Yolk
2.2g Ice Cream Stabiliser
45g Caster/White Sugar
105g 100% Pure Hazelnut Paste
Pâte à Tartiner
475g Roasted Hazelnuts
200g Icing/Powdered Sugar
100g Full Fat Milk Powder
50g Cocoa Powder
120g Milk Chocolate (33% Cocoa Solids)
55g Pure 100% Hazelnut Paste
Pinch of Flakey Sea Salt
Special equipment
Digital thermometer
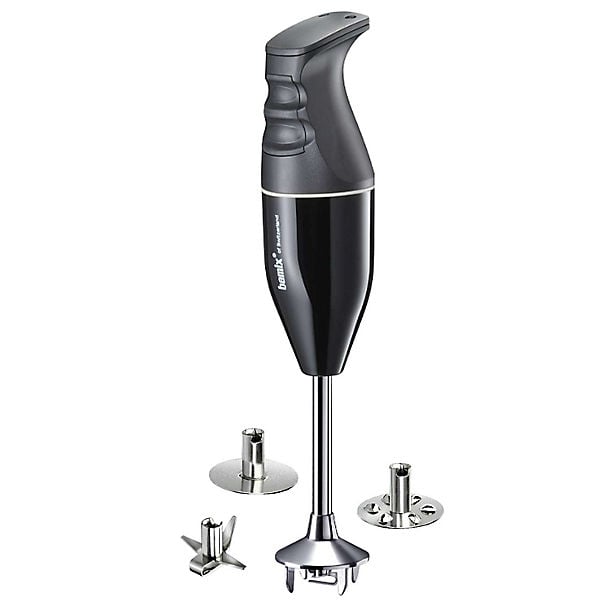
Hand blender
Food processor
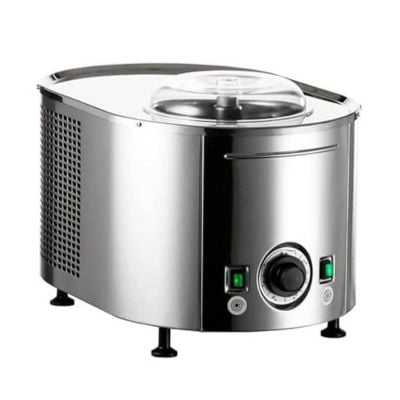
Ice cream maker
Piping bag (optional)
Method
Hazelnut Gelato
1. Into a small bowl, whisk together the sugar and ice cream stabiliser. This is important to prevent it from creating lumps when it is added to the mixture. For the ice cream stabiliser you can use a pre-made blend readily available online or another option such as Locust Bean Gum.
- 2.2g Ice Cream Stabiliser
- 45g Caster/White Sugar
2. Into a medium saucepan, add the milk, water, skimmed milk powder, dextrose, liquid glucose, trimoline and skimmed milk powder.
- 260g Whole Milk
- 320g Water
- 65g Skimmed Milk Powder
- 85g Liquid Glucose
- 20g Invert Sugar (Trimoline)
- 75g Dextrose
*If you do not have access to trimoline, just adjust the sugars to the following ratios:
- 53g Caster/ White Sugar (mixed with the stabiliser)
- 95g Liquid Glucose
- 85g Dextrose
3. Heat the mixture, whisking, until it reaches 45C/113F. Then, add in the sugar/stabiliser mixture and the egg yolk.
- 20g Egg Yolk
4. Continue whisking until the mixture reaches 85C/185F on a digital thermometer.
5. Remove it from the heat and pour it into a tall jug, and add the pure hazelnut paste.
- 105g 100% Pure Hazelnut Paste
6. Blend the mixture for 1 minute with a hand blender.
7. Pour the mixture into a bowl and then place this into a larger bowl of ice water. We want to cool this mixture as quickly as possible. Stir it occasionally for about 20 minutes then cover the surface with clingfilm and refrigerate overnight.
Pâte à Tartiner
Note – this will make enough for about 3 jars!
1. Into a food processor, add the roasted hazelnuts, icing/powdered sugar, cocoa powder and milk powder. Blend the mixture for around a minute, scraping down if needed, until it forms a thick, peanut butter-like consistency. Let the mixture cool for 10 minutes.
- 475g Roasted Hazelnuts
- 200g Icing/Powdered Sugar
- 100g Full Fat Milk Powder
- 50g Cocoa Powder
2. Melt the milk chocolate and pure hazelnut paste and pour this into the food processor. Blend again for 30 seconds – 1 minute, until you are happy with the texture. Finally, stir through a pinch of flakey sea salt.
- 120g Milk Chocolate (33% Cocoa Solids)
- 55g Pure 100% Hazelnut Paste
- Pinch of Flakey Salt
3. Transfer the mixture to airtight jars. This can be stored at room temperature for 2-4 weeks or in the fridge for 1-2 months.
Assembly
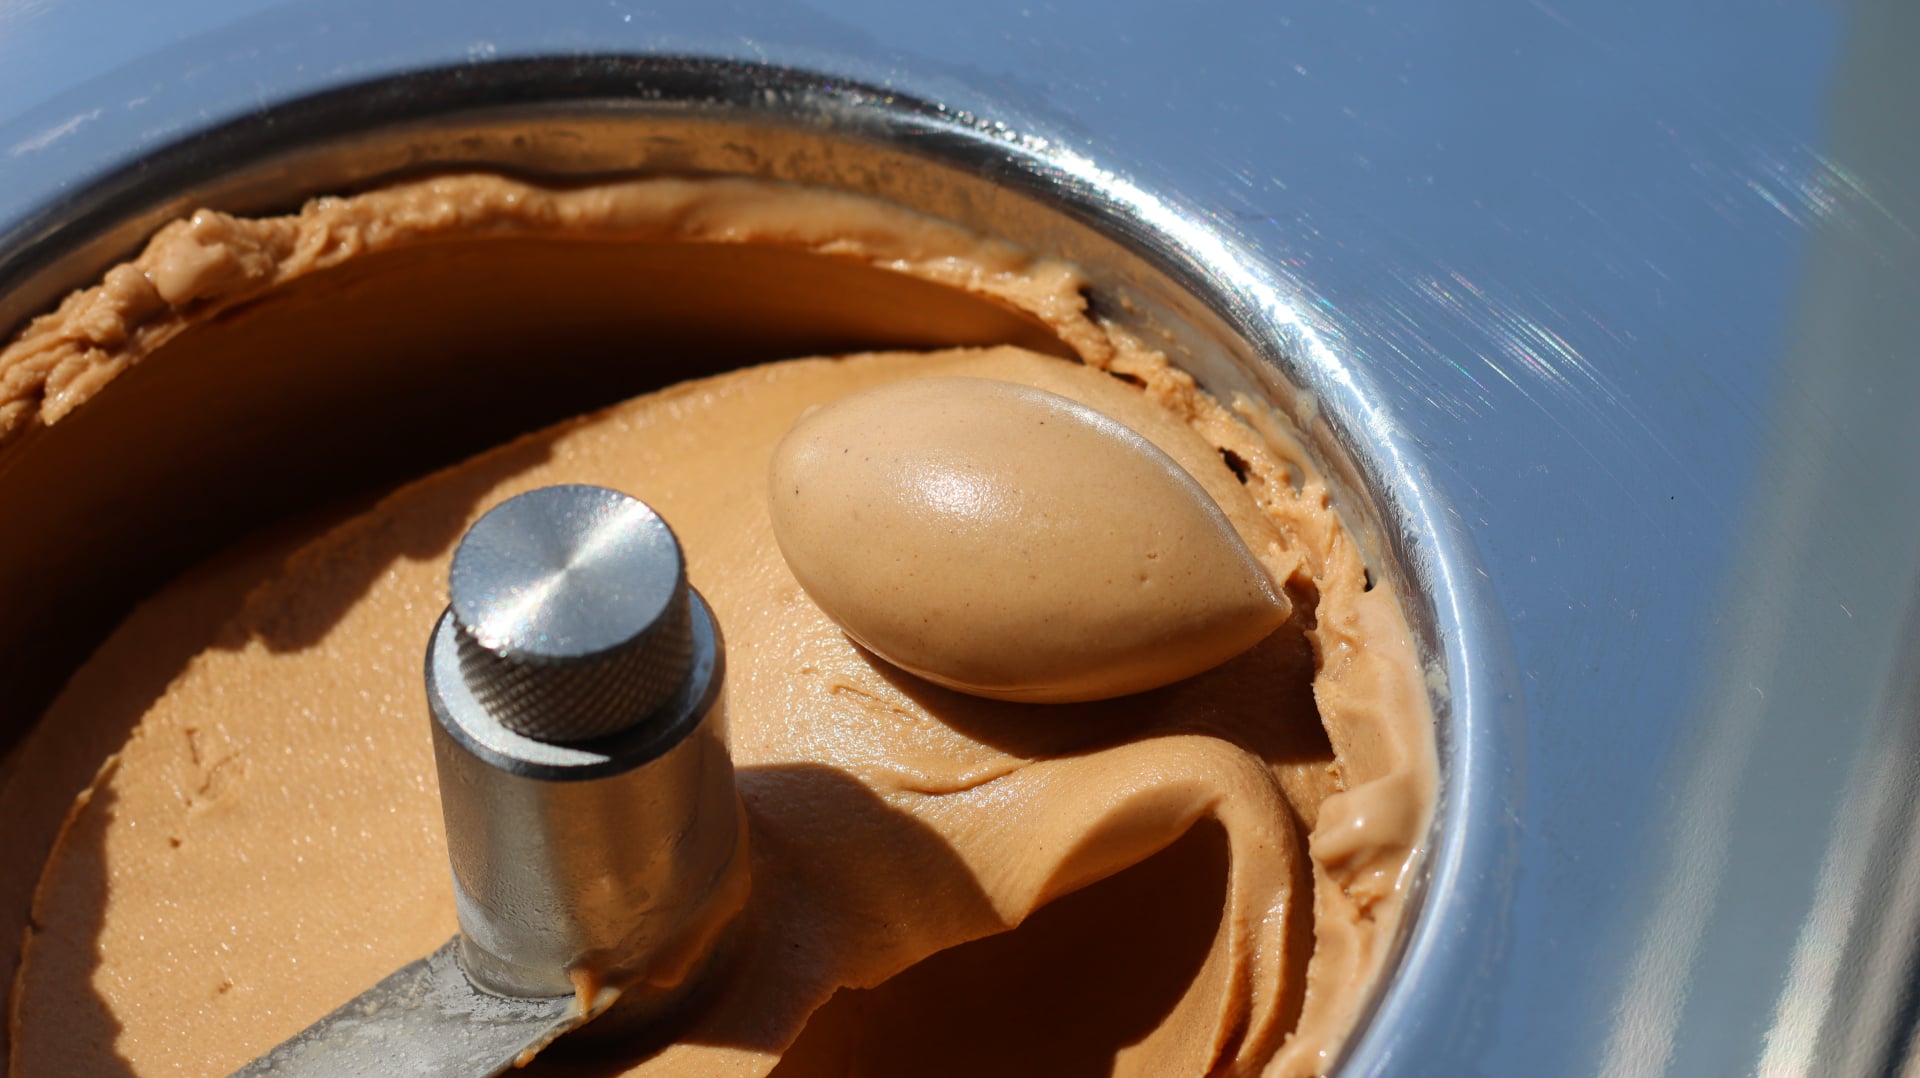
1. Once the gelato base has matured, blend it one more time with a hand blender for 30 seconds, and pour it into your pre-chilled ice cream/gelato maker. Follow the machine’s instructions but it should take around 30 minutes for it to churn depending on the model. More expensive models with built in chillers will churn it in about 15-20 minutes. Mine is usually ready at a ‘draw’ temperature (the temperature you take it out of the machine) at about -11C/12.2F if you want to check it.
2. Once it has churned, work quickly to scoop it out of the machine and layer it into an ice cream tub, swirling through some of the pâte à tartiner as you go. I find adding it into a piping bag is a good way to drizzle it in. You just need to make sure the pâte à tartiner isn’t too liquid, ideally it is a soft, pipeable texture.
3. Place the container into the freezer for 3-4 hours and then serve. This is ideally kept at around -18C/-0.4F for a texture that is scoopable directly from the freezer so check the temperature of your freezer. If it is slightly colder it might just need a few minutes to warm up before scooping it. It is best eaten on the same day as the texture deteriorates slightly the longer you leave it.
Shop the Equipment




Hazelnut Sundae Cone
TIER 2
Hazelnut Sundae Cone
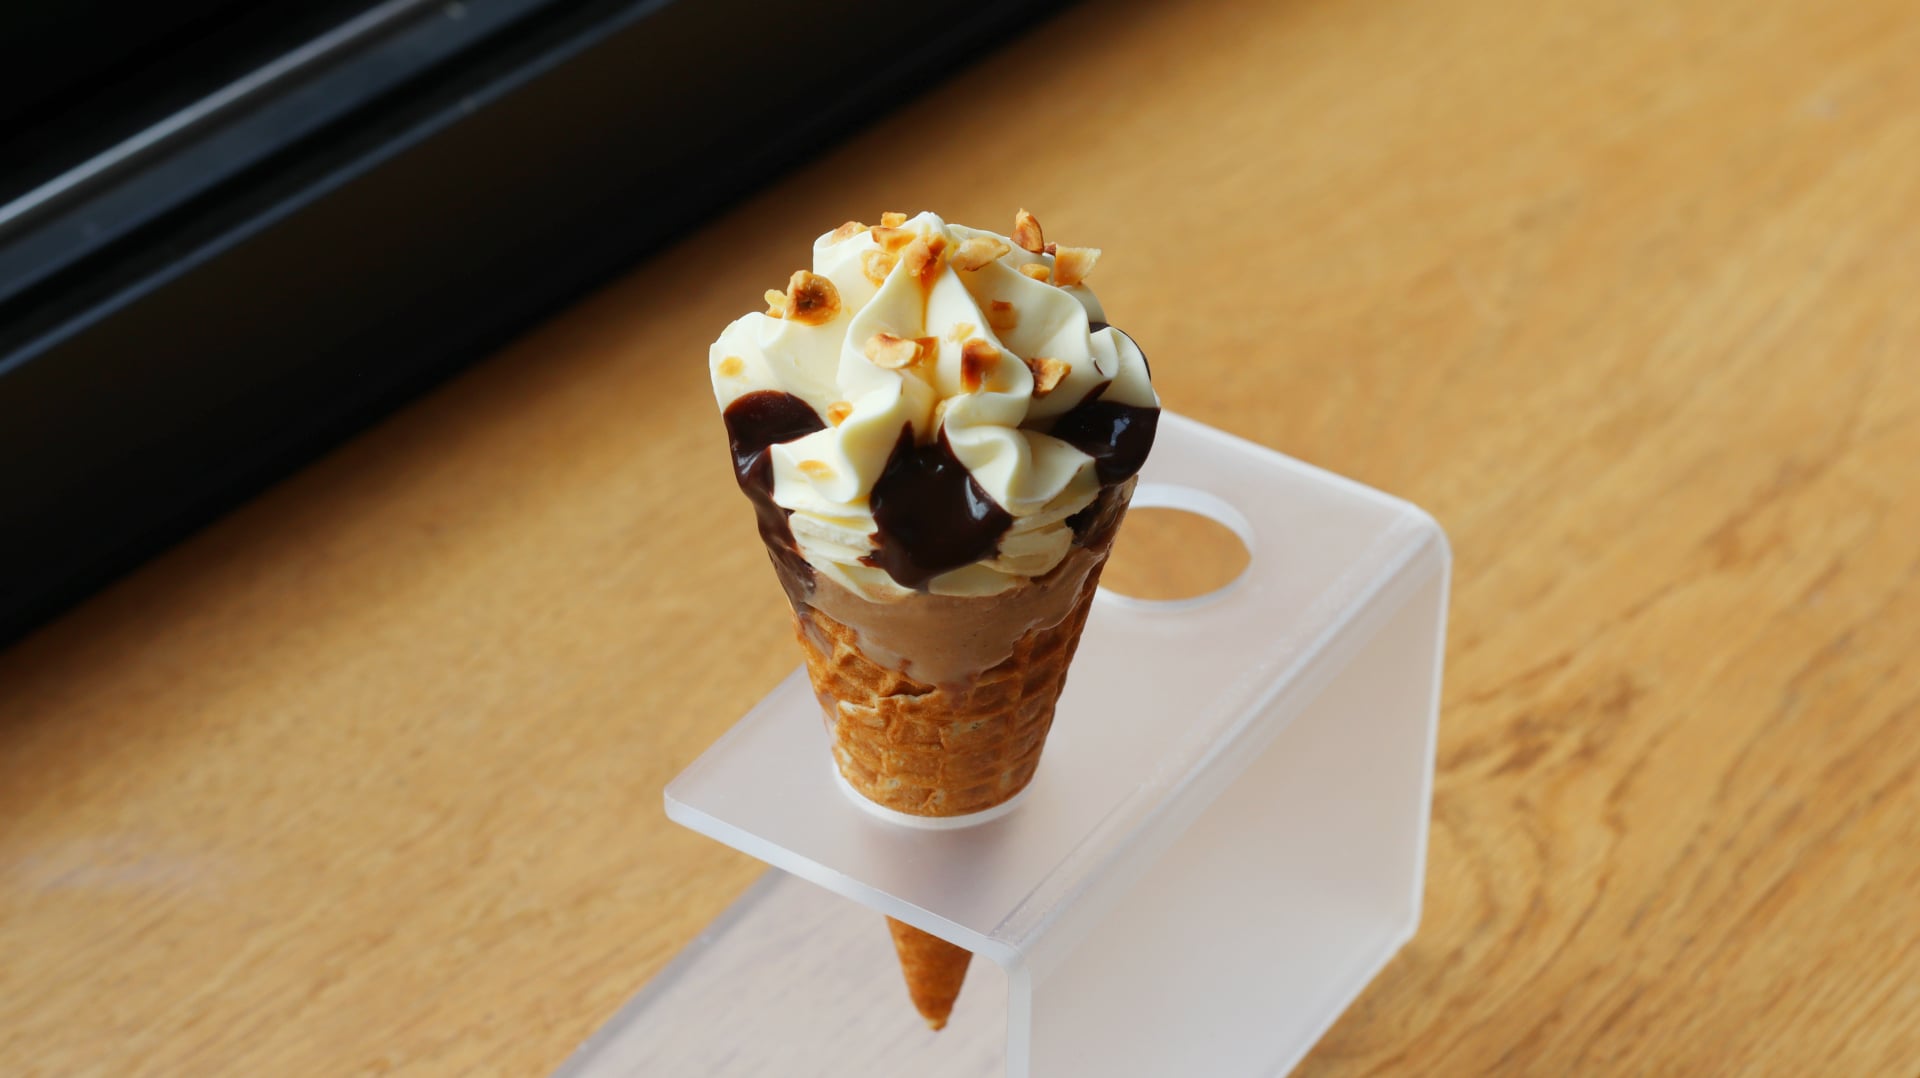
If you’ve ever had a Cornetto, you’ll instantly recognise the inspiration behind this dessert! My goal was to recreate the famous European ice cream, and I surprised myself with just how well it turned out. For Tier 2 we fill a (shop bought) cone with pâte à tartiner and hazelnut gelato, then top it with white chocolate cream and a drizzle of chocolate sauce. The recipe itself is quite straightforward, it’s just the assembly that requires a little extra focus!
6-8
CONES
Ingredients
Makes 6-8 cones
Hazelnut Gelato
260g Whole Milk
320g Water
65g Skimmed Milk Powder
85g Liquid Glucose
20g Invert Sugar (Trimoline)
75g Dextrose
20g Egg Yolk
2.2g Ice Cream Stabiliser
45g Caster/White Sugar
105g 100% Pure Hazelnut Paste
Pâte à Tartiner
475g Roasted Hazelnuts
200g Icing/Powdered Sugar
100g Full Fat Milk Powder
50g Cocoa Powder
120g Milk Chocolate (33% Cocoa Solids)
55g Pure 100% Hazelnut Paste
Pinch of Flakey Sea Salt
White Chocolate Cream
3g Powdered Gelatin (250 Bloom) + 18g Cold Water (or 1 Gelatin Leaf, Soaked)
300g Double Heavy Cream
65g White Chocolate, Chopped
Chocolate Sauce
50g Cocoa Powder
10g Plain/All-Purpose Flour
95g Caster/White Sugar
Pinch of Flakey Salt
300g Whole Milk
25g Unsalted Butter
8 Ice Cream Cones
Chopped Roasted Hazelnuts To Decorate
Special equipment
Digital thermometer
Hand blender
Food processor
Ice cream machine
Acetate/parchment paper
Stand mixer
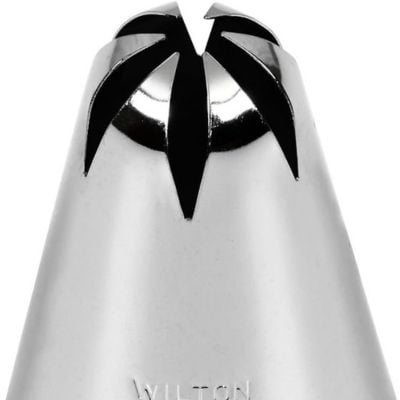
1B piping nozzle
Piping bag
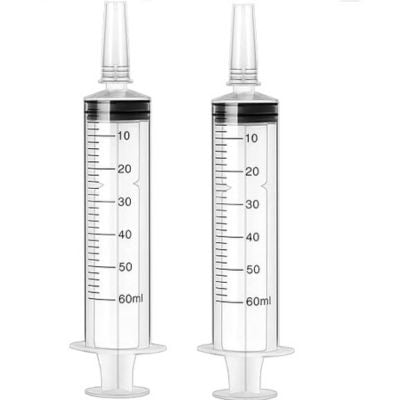
Syringe (optional)
Method
Hazelnut Gelato
1. Into a small bowl, whisk together the sugar and ice cream stabiliser. This is important to prevent it from creating lumps when it is added to the mixture. For the ice cream stabiliser you can use a pre-made blend readily available online or another option such as Locust Bean Gum.
- 2.2g Ice Cream Stabiliser
- 45g Caster/White Sugar
2. Into a medium saucepan, add the milk, water, skimmed milk powder, dextrose, liquid glucose, trimoline and skimmed milk powder.
- 260g Whole Milk
- 320g Water
- 65g Skimmed Milk Powder
- 85g Liquid Glucose
- 20g Invert Sugar (Trimoline)
- 75g Dextrose
*If you do not have access to trimoline, just adjust the sugars to the following ratios:
- 53g Caster/ White Sugar (mixed with the stabiliser)
- 95g Liquid Glucose
- 85g Dextrose
3. Heat the mixture, whisking, until it reaches 45C/113F. Then, add in the sugar/stabiliser mixture and the egg yolk.
- 20g Egg Yolk
4. Continue whisking until the mixture reaches 85C/185F on a digital thermometer.
5. Remove it from the heat and pour it into a tall jug, and add the pure hazelnut paste.
- 105g 100% Pure Hazelnut Paste
6. Blend the mixture for 1 minute with a hand blender.
7. Pour the mixture into a bowl and then place this into a larger bowl of ice water. We want to cool this mixture as quickly as possible. Stir it occasionally for about 20 minutes then cover the surface with cling film and refrigerate overnight.
Pâte à Tartiner
Note – this will make enough for about 3 jars!
1. Into a food processor, add the roasted hazelnuts, icing/powdered sugar, cocoa powder and milk powder. Blend the mixture for around a minute, scraping down if needed, until it forms a thick, peanut butter-like consistency. Let the mixture cool for 10 minutes.
- 475g Roasted Hazelnuts
- 200g Icing/Powdered Sugar
- 100g Full Fat Milk Powder
- 50g Cocoa Powder
2. Melt the milk chocolate and pure hazelnut paste and pour this into the food processor. Blend again for 30 seconds – 1 minute, until you are happy with the texture. Finally, stir through a pinch of flakey sea salt.
- 120g Milk Chocolate (33% Cocoa Solids)
- 55g Pure 100% Hazelnut Paste
- Pinch of Flakey Salt
3. Transfer the mixture to airtight jars. This can be stored at room temperature for 2-4 weeks or in the fridge for 1-2 months.
White Chocolate Cream
1. Into a small bowl, add the powdered gelatin and cold water. Stir to combine, then set aside for 10 minutes to bloom. If you are using sheet gelatin, just soak it in a bowl of cold water.
- 3g Powdered Gelatin (250 Bloom) + 18g Cold Water (or 1 Gelatin Leaf, Soaked)
2. Into a tall jug, add the chopped white chocolate and set aside.
- 65g White Chocolate, Chopped
3. Pour the cream into a small saucepan, and place it onto a medium heat. Stir occasionally until it is steaming.
- 300g Double/Heavy Cream
4. Remove it from the heat, and pour it over the white chocolate. Scoop the bloomed gelatin on top and let it sit for 2 minutes. Then blend until smooth with a hand blender.
5. Cover the surface with cling film and refrigerate overnight. Alternatively, pour it into a baking tray and chill for 3-4 hours.
Chocolate Sauce
This will make more than you need, but I like to portion it up, store it in sandwich bags and keep it in the freezer!
1. Into a small bowl, add the dry ingredients and whisk to combine.
- 50g Cocoa Powder
- 10g Plain/All-Purpose Flour
- 95g Caster/White Sugar
- Pinch of Flakey Salt
2. Add the milk and butter into a saucepan and place it over a medium heat.
- 300g Whole Milk
- 25g Unsalted Butter
3. Once it is steaming and the butter has melted, tip in the dry ingredients and whisk constantly for around 4-5 minutes, until it is a thick consistency that coats the back of a spoon.
4. Remove it from the heat and pass it through a sieve into a clean bowl.
5. Cover the surface with cling film and leave at room temperature or refrigerate until needed.
Assembly
1. Wrap the outside of each ice cream cone tightly with a strip of acetate or parchment paper, extending above the rim to create a collar. Secure it firmly with tape, then stand the cone upright in a tray of rice or an ice cream cone holder to keep it stable.
2. Use a teaspoon to add a small amount of pâte à tartiner into the base of each cone.
3. Once the gelato base has matured, blend it one more time with a hand blender for 30 seconds, and pour it into your pre-chilled ice cream/gelato maker. Follow the machine’s instructions but it should take around 30 minutes for it to churn depending on the model. More expensive models with built in chillers will churn it in about 15-20 minutes. Mine is usually ready at a ‘draw’ temperature (the temperature you take it out of the machine) at about -11C/12.2F if you want to check it.
4. Working quickly, scoop the gelato straight into the ice cream cone, filling it, so that is level with the rim of the cone. Place it straight into the freezer for 1 hour. Try to set your freezer as cold as possible (around -24C/–11F). We need the gelato to set quite firm so that we can peel off the acetate cleanly. It is important that your gelato isn’t too soft/”melty” as it goes into the cone otherwise it will drip around the edges of the acetate and soak your cone. So if it feels too soft, scoop it into a container first and then freeze it for an hour and then scoop it into your cones.
5. Remove the chilled white chocolate cream from the fridge and add it into a stand mixer fitted with the whisk attachment. Whisk on a medium speed until it holds a medium soft peak. Try not to over whip it, as you want the cream to be nice and soft so it ruffles nicely on top of the cone.
6. Add it into a piping bag fitted with a 1B nozzle.
7. Remove the cones from the freezer and holding the piping bag vertically just above the gelato, squeeze firmly, slowly pulling the back up, to create a ripple effect.
8. Take some of the chocolate sauce and pipe it into the gaps in between each ruffle. I find a little syringe is great for this. Sprinkle on some chopped roasted hazelnuts.
9. Place the cones back in the freezer until the gelato and cream feel firm and the acetate can be cleanly peeled away.
10. Remove them from the freezer and allow them to warm up for a few minutes at room temperature and then serve.
Shop the Equipment